Content Writer at SocialBee
Short videos have become a huge hit, and with TikTok and Instagram Reels paving the way, Facebook Reels were quick to follow the bite-sized clip trend.
While Facebook’s version of short-form video content came a bit later than the others, it shouldn’t be overlooked. In fact, Facebook Reels can be a valuable asset in any content creator’s marketing strategy. What’s great is that you can repurpose content you’ve already made.
In this blog post, we explain everything there is to know about Facebook Reels. From creating to sharing your short video content, we’ve got you covered!
Boost your content creation with hundreds of post ideas, examples and Canva templates.
What Are Facebook Reels?
Facebook Reels are bite-sized videos lasting up to 90 seconds that you can enhance with various tools such as music, audio clips, and effects. They have become the go-to for plenty of successful brands, UGC creators, marketers, and influencers.
Despite joining the party a little later than the other platforms (2021), Facebook Reels can now be accessed in over 150 countries, providing content creators worldwide with the opportunity to enjoy this feature.
Why should you post Facebook Reels?
Facebook’s spending power is massive, with research indicating that Facebook users comprise a well-educated group with considerable disposable income. For this reason, finding new approaches to both entertain viewers and promote products is key, and Facebook Reels can help you engage with a larger audience.
How to Create a Facebook Reel in 6 Steps
Creating your first Facebook Reel doesn’t have to be stressful at all.
Herețs how to create a Facebook Reel in 6 steps:
- Tap on the “+” sign and select “Reel”
- Upload a video or create your own Reel by tapping on the “Camera” icon
- Edit your video
- Create your video caption
- Decide who will see your Reel
- Hit “Post” to publish Your Reel
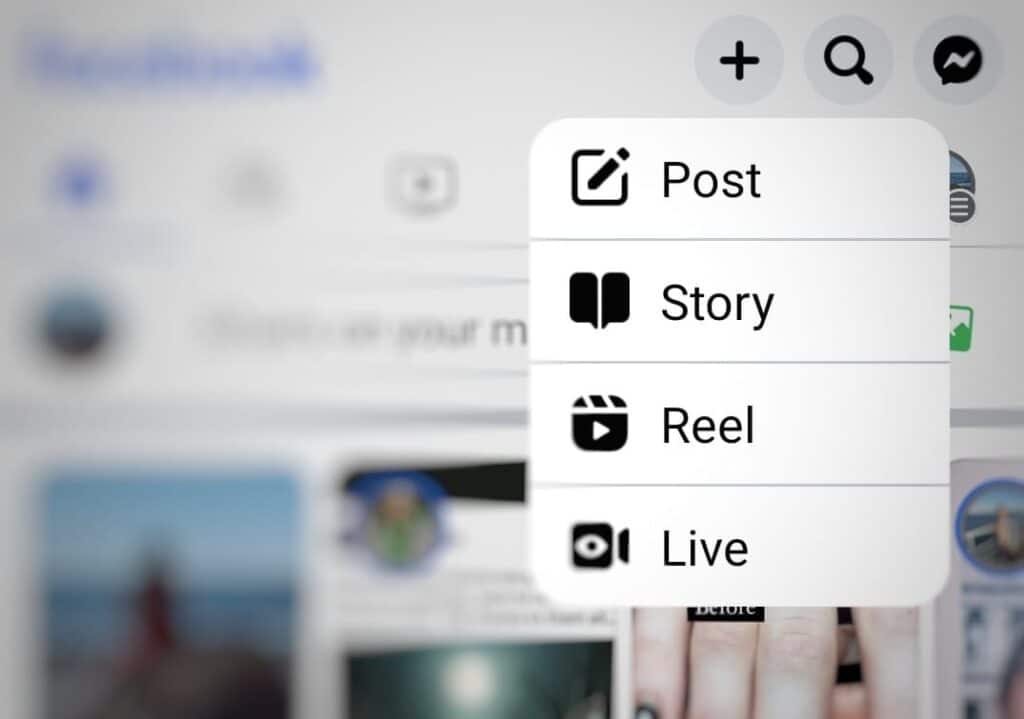
1. Tap on the “+” Sign and Select “Reel”
To create a Facebook Reel, open the Facebook app and tap on the “+” sign located at the top center of the screen. From the available options, select “Reel.”
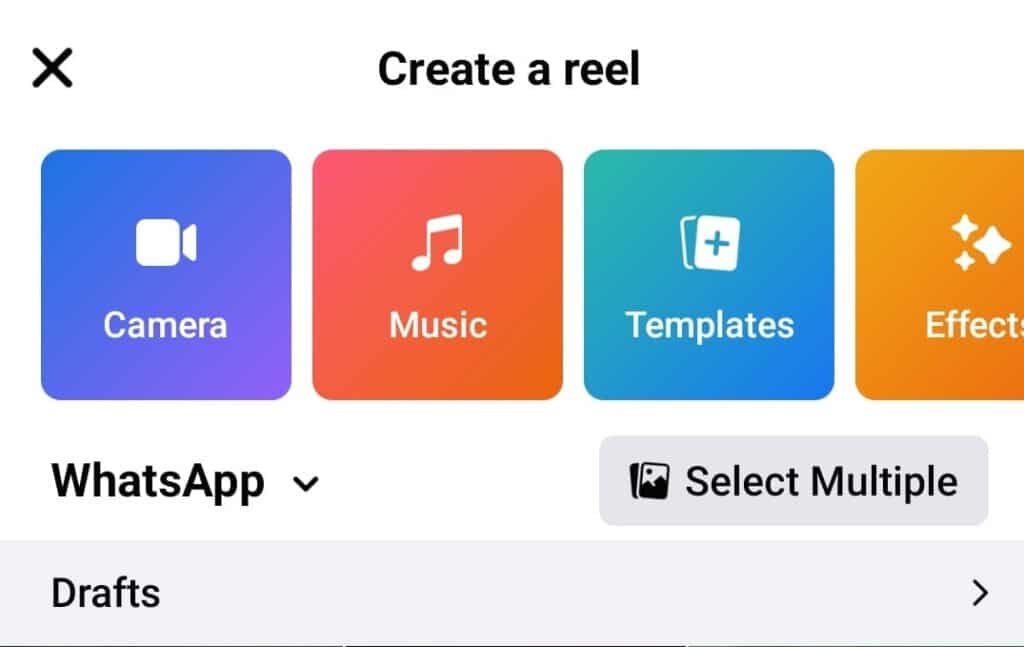
2. Upload a Video or Create Your Own Reel by Tapping on the “Camera” Icon
You will be directed to a collection of the photos and videos stored in your phone’s camera roll. From here, you can either include pre-recorded videos or photos in your Facebook Reels or create a reel in real time.
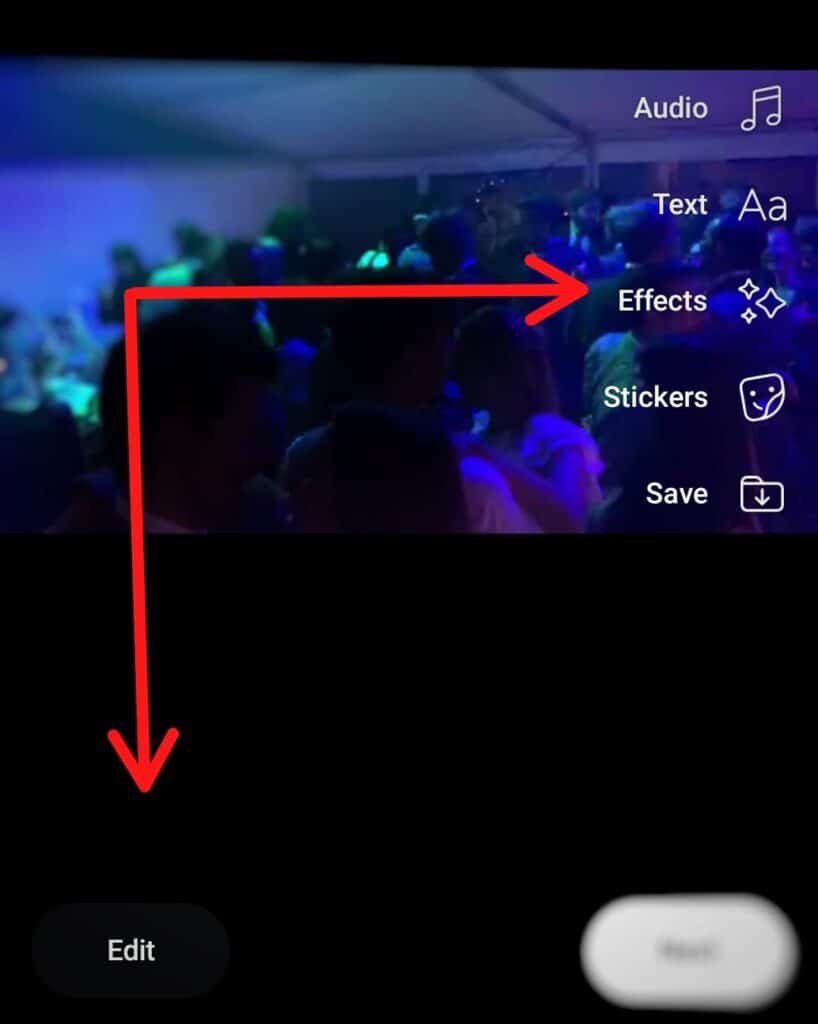
3. Edit Your Video
After selecting the video, you can edit it by using the available tools. This can include trimming the video, adding filters, adjusting the brightness or contrast, and adding music or text overlays.
4. Create Your Video Caption
To add a caption to your Reel, tap on the text field next to the video. Enter a relevant caption that describes your video or adds any necessary context. You can also include hashtags or tag other Facebook users.
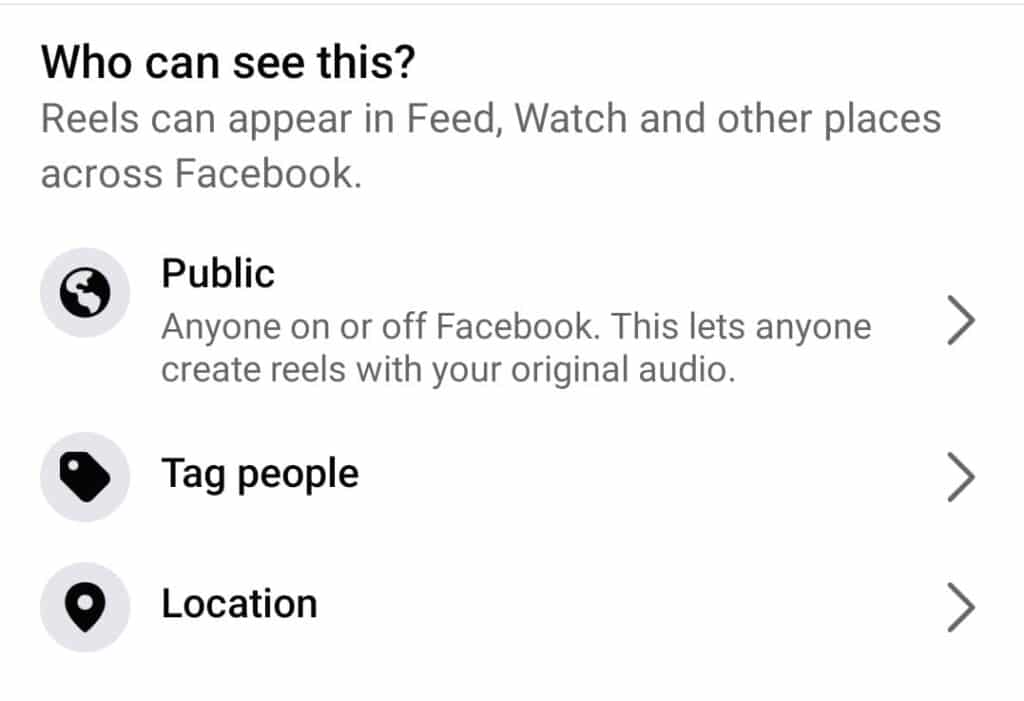
5. Decide Who Will See Your Reel
Before posting your Reel, you can choose who can view it. You can select from options such as “Public” (anyone can see it), “Friends” (only your Facebook friends can see it), or customize the audience by selecting specific individuals or groups.
6. Hit “Post” to Publish Your Reel
Once you have finished editing your video and adding a caption, and have chosen your desired audience, tap on the “Post” button. This will publish your Facebook Reel and make it visible to the selected audience.
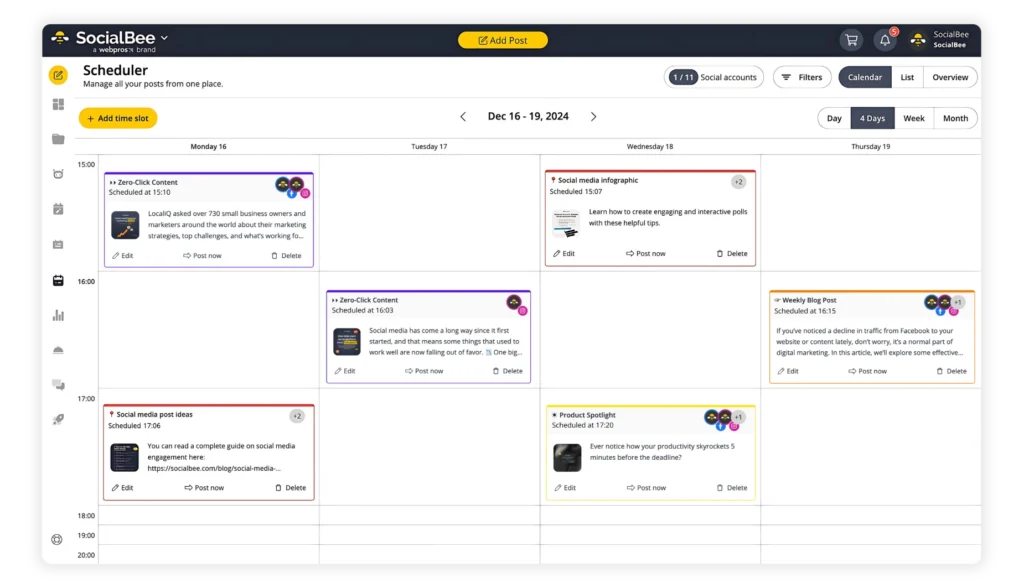
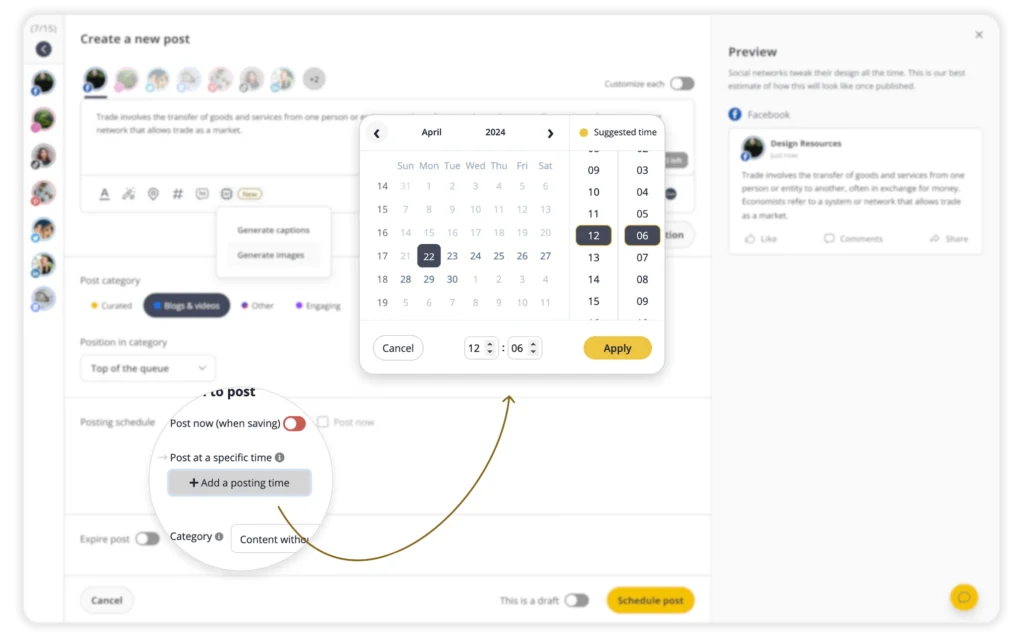
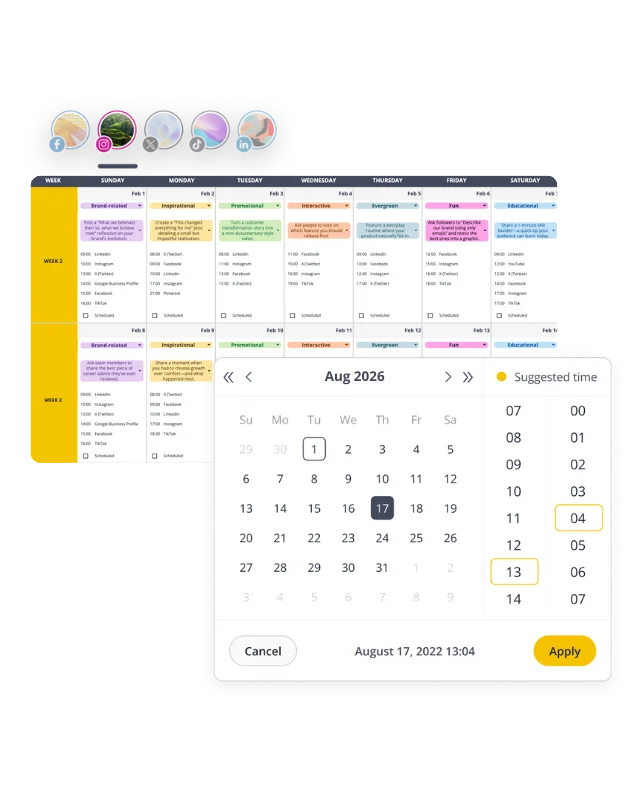
Pro Tip: Plan Your Facebook Reels Ahead of Time with SocialBee
What if we told you there is an easier way to schedule and manage social media posts than manually hitting Post every single time? SocialBee is a one-stop social media management platform that saves hours of your time while helping you to take full control of your social media presence.
Schedule your Facebook Reels and manage all your social media accounts with ease from SocialBee.
Start your 14-day free trial now!
Here’s what you need to know before you start posting Reels directly from SocialBee:
- To choose where you want to share a Facebook post, you will have to customize the post for each profile.
- In the top-right corner, you will be able to choose where you want your posts to be shared from the drop-down menu – in this case, it should be Reel
- SocialBee supports both MP4 and MOV video formats.
- Recommended resolution is 1080×1920 or greater.
- Video settings should be H.264 compression, square pixels, fixed frame rate, progressive, and AAC audio at 128kbps+.
Schedule, Post, and Reshare Your Facebook Reels from SocialBee!
Facebook Reels Best Practices
Regardless of your creative direction, there are several guidelines that you should follow when creating Facebook Reels.
Best practices for Facebook Reels:
- Repurpose your TikTok and Instagram Reels
- Opt for short-form videos
- Go for vertical videos
- Include captions
- Be intentional when creating reels
- Learn about trends
- Collaborate with other creators
2. Repurpose your TikTok and Instagram Reels
Repurposing content can save you hours of work every week. It’s not only efficient, but it’s a smart way of making the most out of your content’s potential.
Select your top-performing TikTok content and upload it again on your Facebook Reels. The same applies to Instagram: when you post on Instagram Reels, you can share it on Facebook automatically by adjusting the settings.
Or, even better, you can upload to all three platforms from a centralized social media management tool like SocialBee.
Schedule your Reels across multiple platforms with ease from SocialBee
Start your 14-day free trial now!
PRO TIP: Go the extra mile and boost the potential of your content by customizing it for each platform from SocialBee. For example, using hashtags on Facebook Reels can look like a rookie move, however, it’s totally necessary on platforms like Instagram and TikTok. So, make sure to always press the “Customize for each profile” button before hitting “Post.” |
3. Opt for Short-Form Videos
On Facebook Reels, you get slightly more elbow room than just a fleeting 30-second clip. In fact, it’s a generous span of up to 90 seconds to showcase your creativity. Sure, it may not sound like an eternity, but believe us, with those precious seconds, you can work wonders and captivate your audience.
5. Go For Vertical Videos
Just like TikTok and Instagram Reels, Facebook Reels are designed for vertical video. So, when you’re recording, make sure you don’t rotate your phone horizontally, as Facebook’s algorithm prioritizes content that adheres to its recommended guidelines.
7. Include Captions
Captions provide context for your Reels, as they influence how people interpret your content. Use your captions as an opportunity to inject your personal touch, share a funny remark, or convey a heartfelt message. This increases the chances of your viewers remembering the crucial points long after they’ve watched your content.
8. Be Intentional when Creating Reels
The content you choose to share with your audience has a significant impact on how they perceive your brand and their purchasing decisions. Think about the message you want to convey, the style and vibe you wish to adopt, and the specific demographics you want to connect with.
9. Learn About Trends
It shouldn’t come as a surprise, but you should observe and analyze existing Reels before crafting your own. Social media trends evolve rapidly, and failing to keep up with them could make your brand seem disconnected from the current pulse. Actively monitor trends, taking note of what’s gaining traction within your industry to produce relevant content.
10. Collaborate with Other Creators
Find an influencer or a UGC creator in your field who you can team up with. Their follower base is likely different from yours, and through their support, you can effectively showcase your products and services in action to new audiences.
Facebook Reels Frequently Asked Questions
Sharing Instagram Reels to Facebook is a breeze since the two apps seem to encourage you to spread the word across platforms.
Launch your Instagram app and begin recording a Reel. Once you’re done, just tap the “next” button and select the option to Share it on Facebook. You have the freedom to choose which Facebook account you’d like to share it with.
Additionally, you can decide if you want to automatically share all your future Reels to Facebook. Once you hit Share, your video will also appear on Facebook.
An awesome way for Creators to earn money from their Facebook Reels is through overlay ads. These banner ads work just like the name suggests — they are placed on your video, but with a semi-transparent overlay, they blend seamlessly with your content.
Every time people engage with your Reel, you earn some cash. To get in on the action, you should be a part of the existing in-stream ads program for Facebook Video. If you’re already a member, you automatically qualify for overlay ads in your reels.
Unfortunately, there’s no option to disable or hide Reels on your Facebook feed. However, you can switch to using Facebook on your computer, as Reels are not available there yet. Alternatively, if you prefer using the mobile app, you can try uninstalling the app from your phone and then reinstalling an older version of Facebook that doesn’t have this feature.
Start Creating Your Own Reels Today!
In this article, we shared with you the ins and outs of creating and posting Facebook Reels as part of your social media strategy.
Spend less time and maximize the effectiveness of your Facebook marketing plan with SocialBee, the all-in-one platform that allows you to easily publish and schedule posts, interact with your audience, get accurate insights, and much more. Get your 14-day free trial today!