
Learning how to set up a Facebook Business page is a step every entrepreneur takes at some point.
Think about all the brands you’ve checked out on Facebook before making a purchase, or how many of your competitors have one. Now it’s your turn to create a Facebook page for your business.
Among all social media platforms, Facebook continues to dominate with an impressive 3.065 billion active users per month. That is why making sure your business has a presence there can bring in a lot of new customers.
Ready to extend your social media strategy to Facebook? We’ve put together a step-by-step guide on how to set up a Facebook Business page, as well as a few tips for boosting its popularity.
![]()
What is a Facebook Business page?
Facebook Business pages are profiles that public figures and businesses can use to advertise themselves and provide details about the goods and services they offer.
Apart from containing all important business information, from contact details to opening hours, it also gives access to Meta’s promotional tools. Creating a Shop, running ads, and accessing other Facebook Commerce tools all require a business account.
How to create a Business page on Facebook
- Log into a personal Facebook account
- Create a new Page
- Add a Page name, category, and bio
- Enter your contact info and business details
- Add your profile images and call to action button
- Connect your WhatsApp
- Invite Facebook friends to like your Page
- Enable the notifications you want
Step 1: Log into a personal Facebook account
Facebook Business pages aren’t entirely separate profiles. They are pages that you can create and administrate from your personal account. For this reason, the first step is to log in to an existing one or create a new one with your business email.
Step 2: Create a new Page
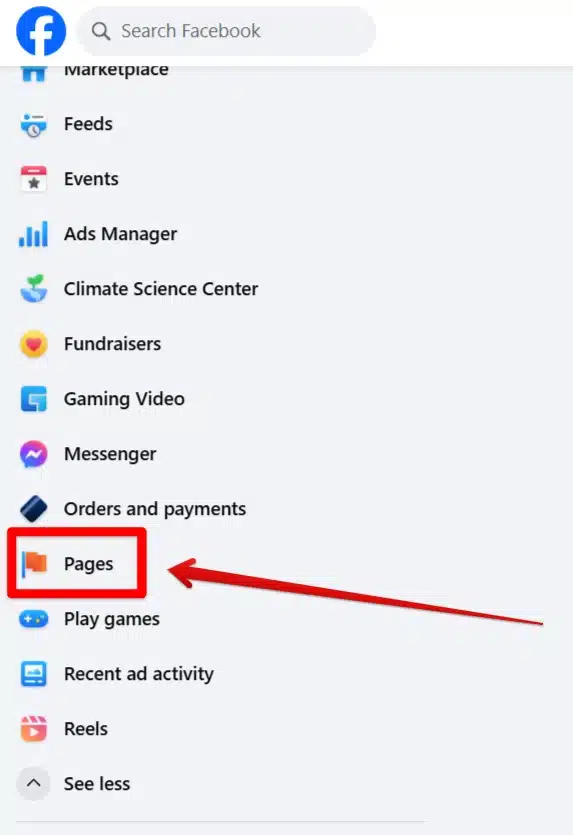
Once you are logged in to your Facebook account, it’s time to create your page. Open the Facebook homepage and find Pages in the left-hand menu.
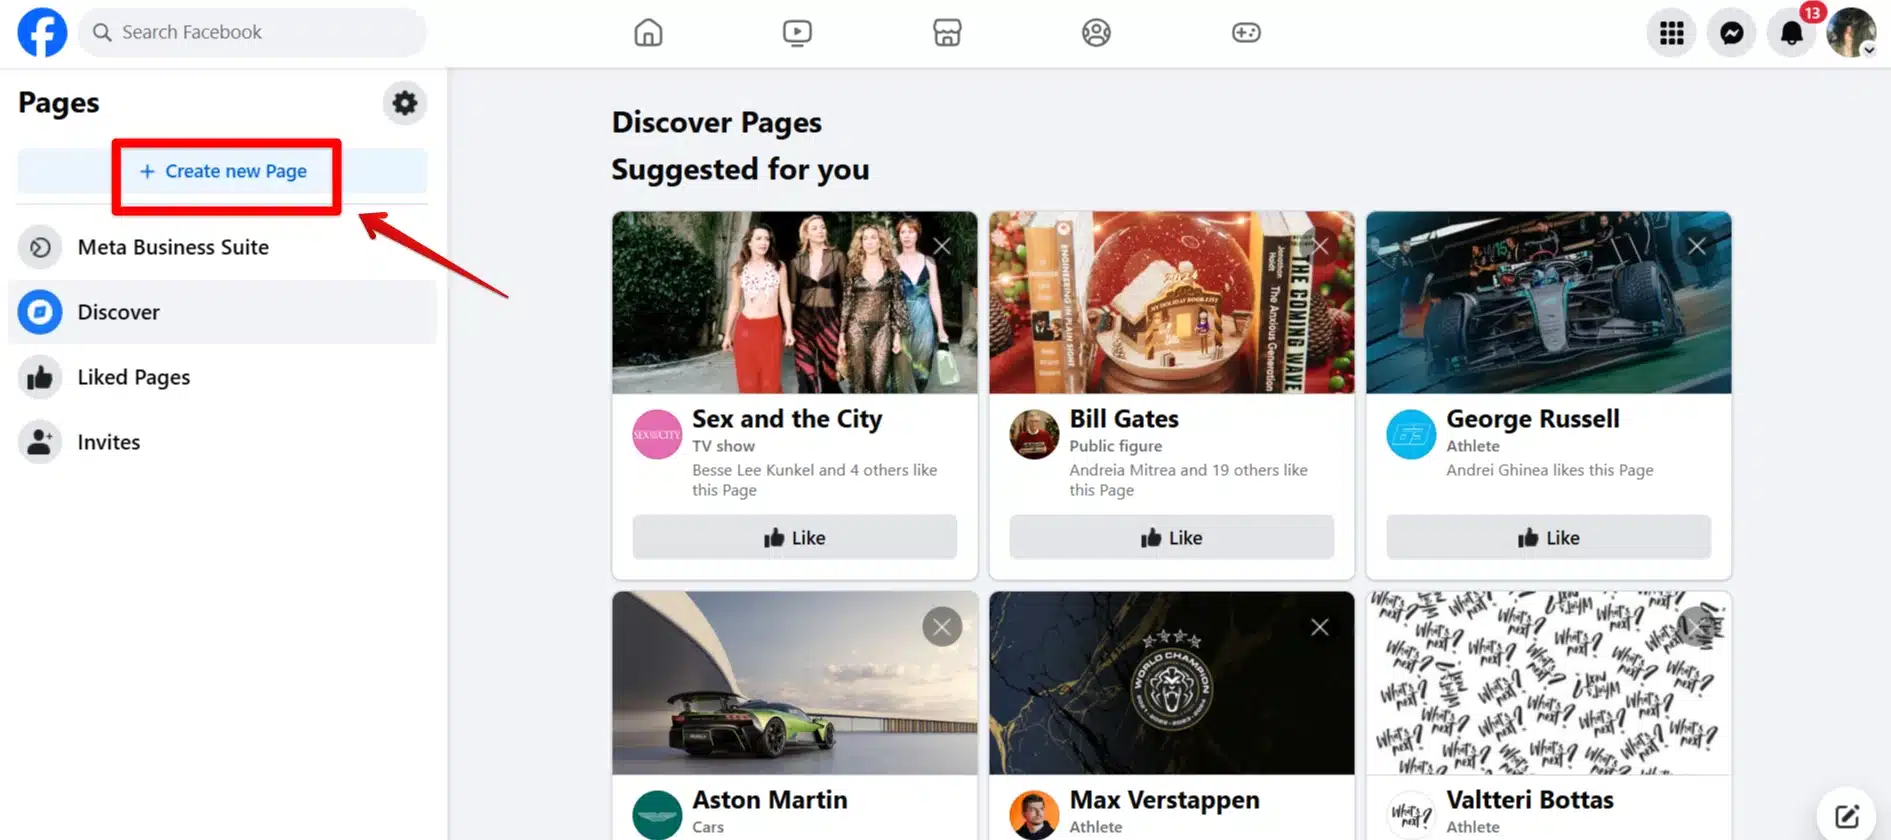
Once you open it, click Create new Page.
Step 3: Add a Page name, category, and bio
The first things your new Business page will require are a name, a category, and optionally a bio. People will find you more easily if your page name is your brand’s name. If the page is for a particular store or location, add it as well.
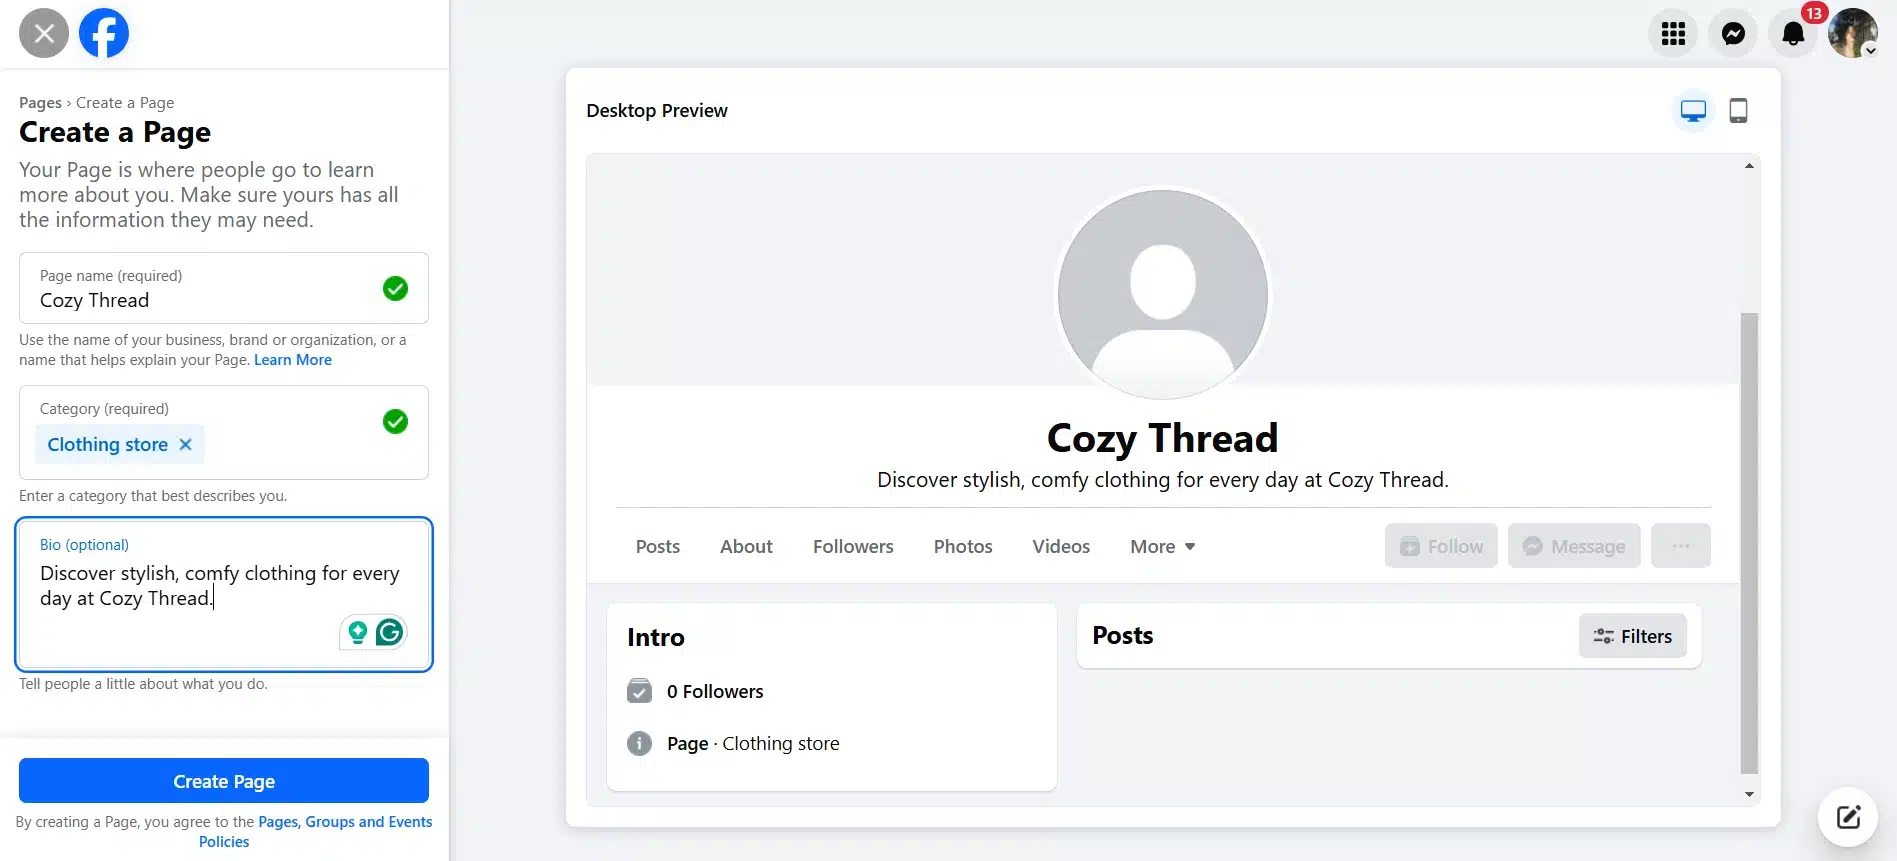
For example, if this page were for a clothing shop in London, a more suitable name would be “Cozy Thread London.”
The business category is another important element. It can be more general, like “clothing store” or “fashion & beauty”, or more specific such as “women’s second hand clothing store”. Facebook will give you plenty of suggestions; pick the one best suited for your business. You can add more than one category.
People are able to search Pages by category, so choosing the right category or categories will ensure you show up when they’re looking for what you offer.
You can also write a Page bio. This is optional, but it’s best to do it because it gives a concise explanation of what your brand is about. Keep it clear and to the point, and add keywords for SEO purposes (e.g., comfy clothing, clothing for every day).
Step 4: Enter your contact info and business details
With your name and category established, Facebook will now take you through five steps meant to put together all the details of your Business page. First things first, add your business details.
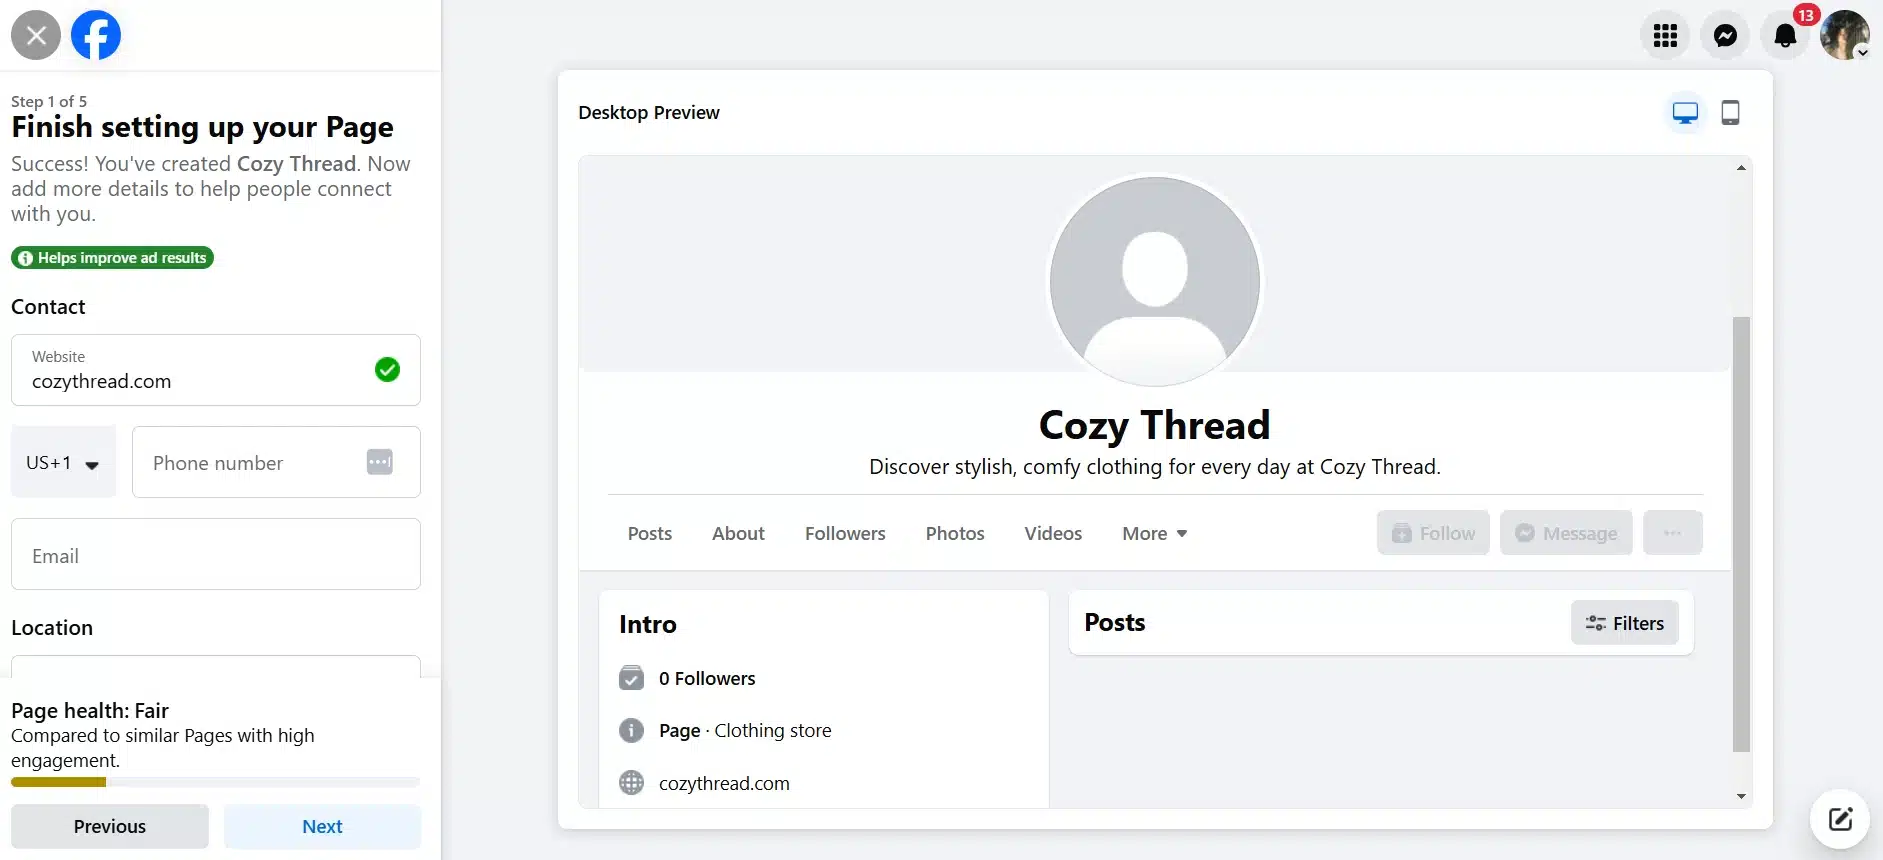
This means adding your website, phone number, and email, as well as disclosing your location and opening hours if you have any. All of these things will be front and center on your page, so your customers can access this information easily whenever they need it.
Step 5: Add your profile images and call to action button
You should now add a profile photo and a cover photo to your page to make it look more polished. Use your brand logo as your profile image to maintain consistency. Your Facebook cover photo should match it aesthetically, so try to keep it in the same color palette and make it relevant to what you are trying to promote.
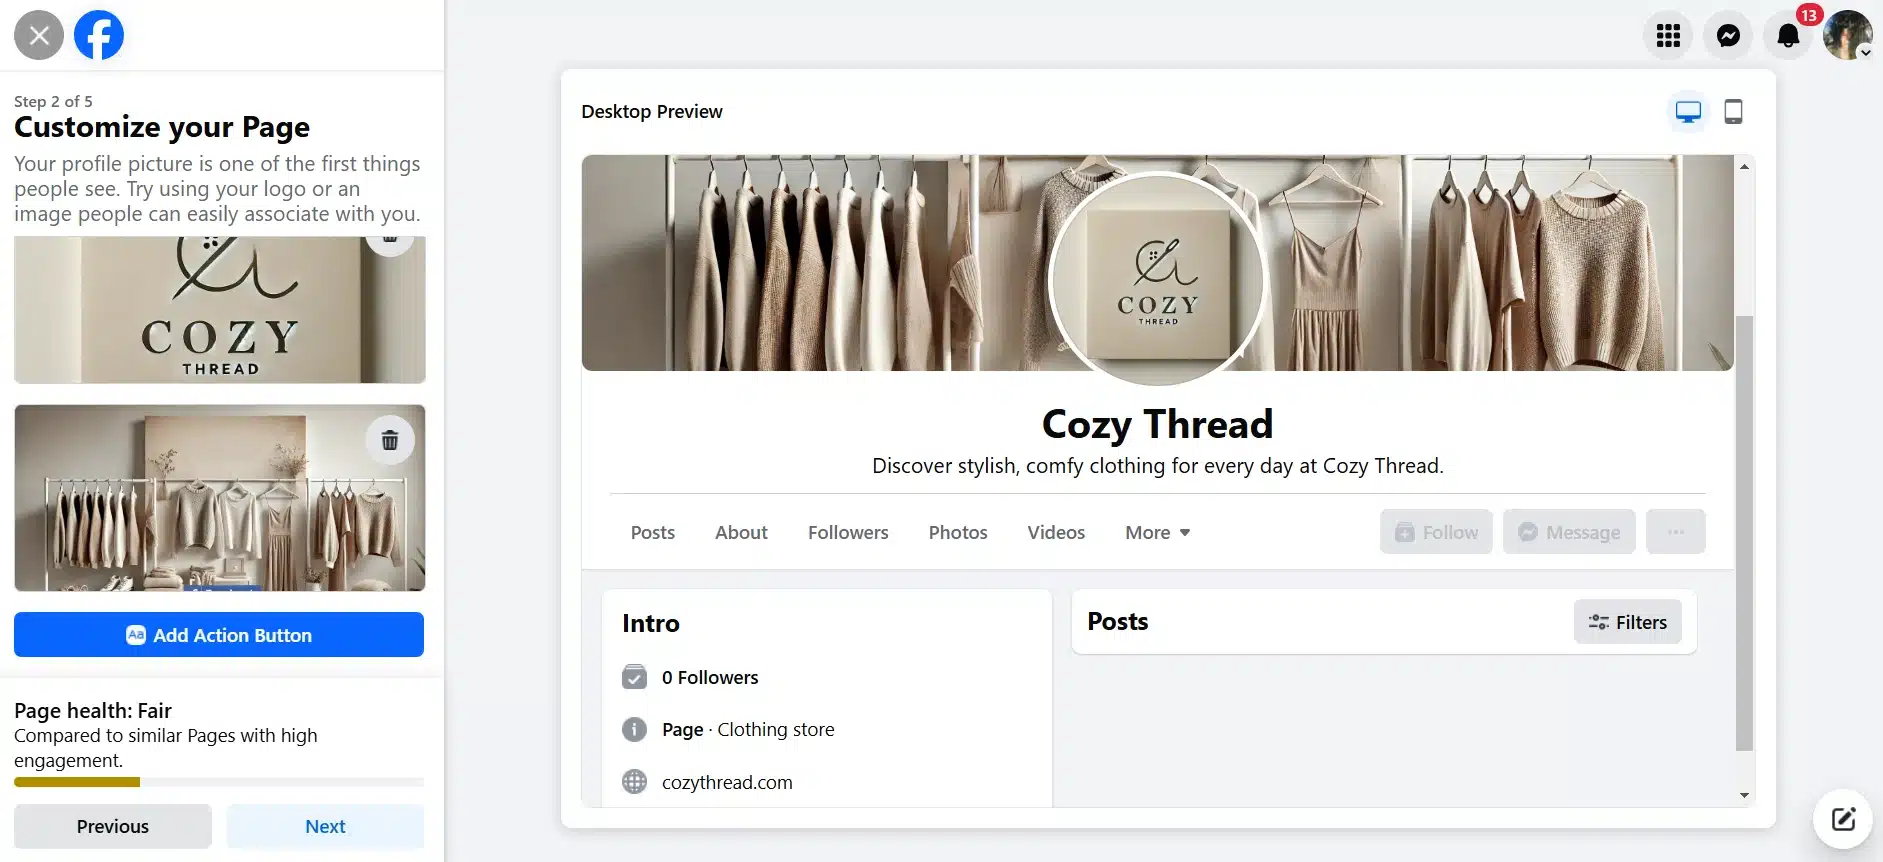
Beneath the fields where you can upload images, you will also find the Add Action Button. Click on it to open a menu that allows you to choose exactly what your call-to-action button should lead to.
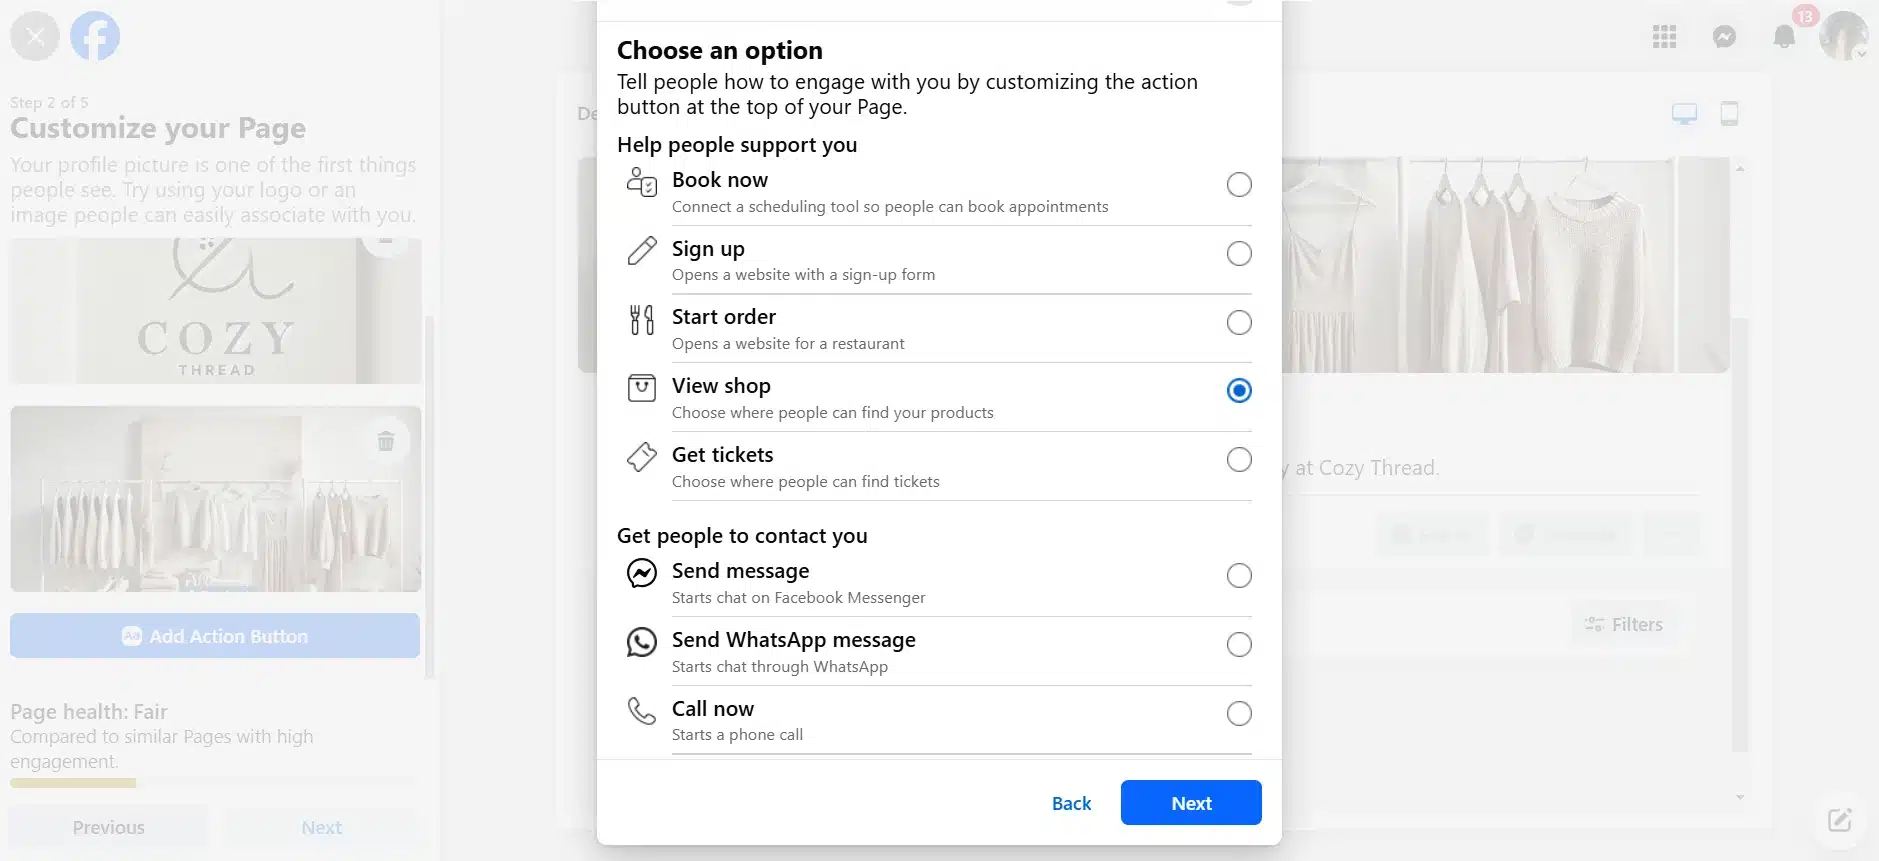
These options are also tailored depending on the industry you’re in. While a clothing store would benefit from a direct link to a shop, a spa could go for Book now, and a restaurant would opt for Start order.
Step 6: Connect your WhatsApp
Because Meta keeps all of its platforms well interconnected, you can add your business’ WhatsApp directly to your page.
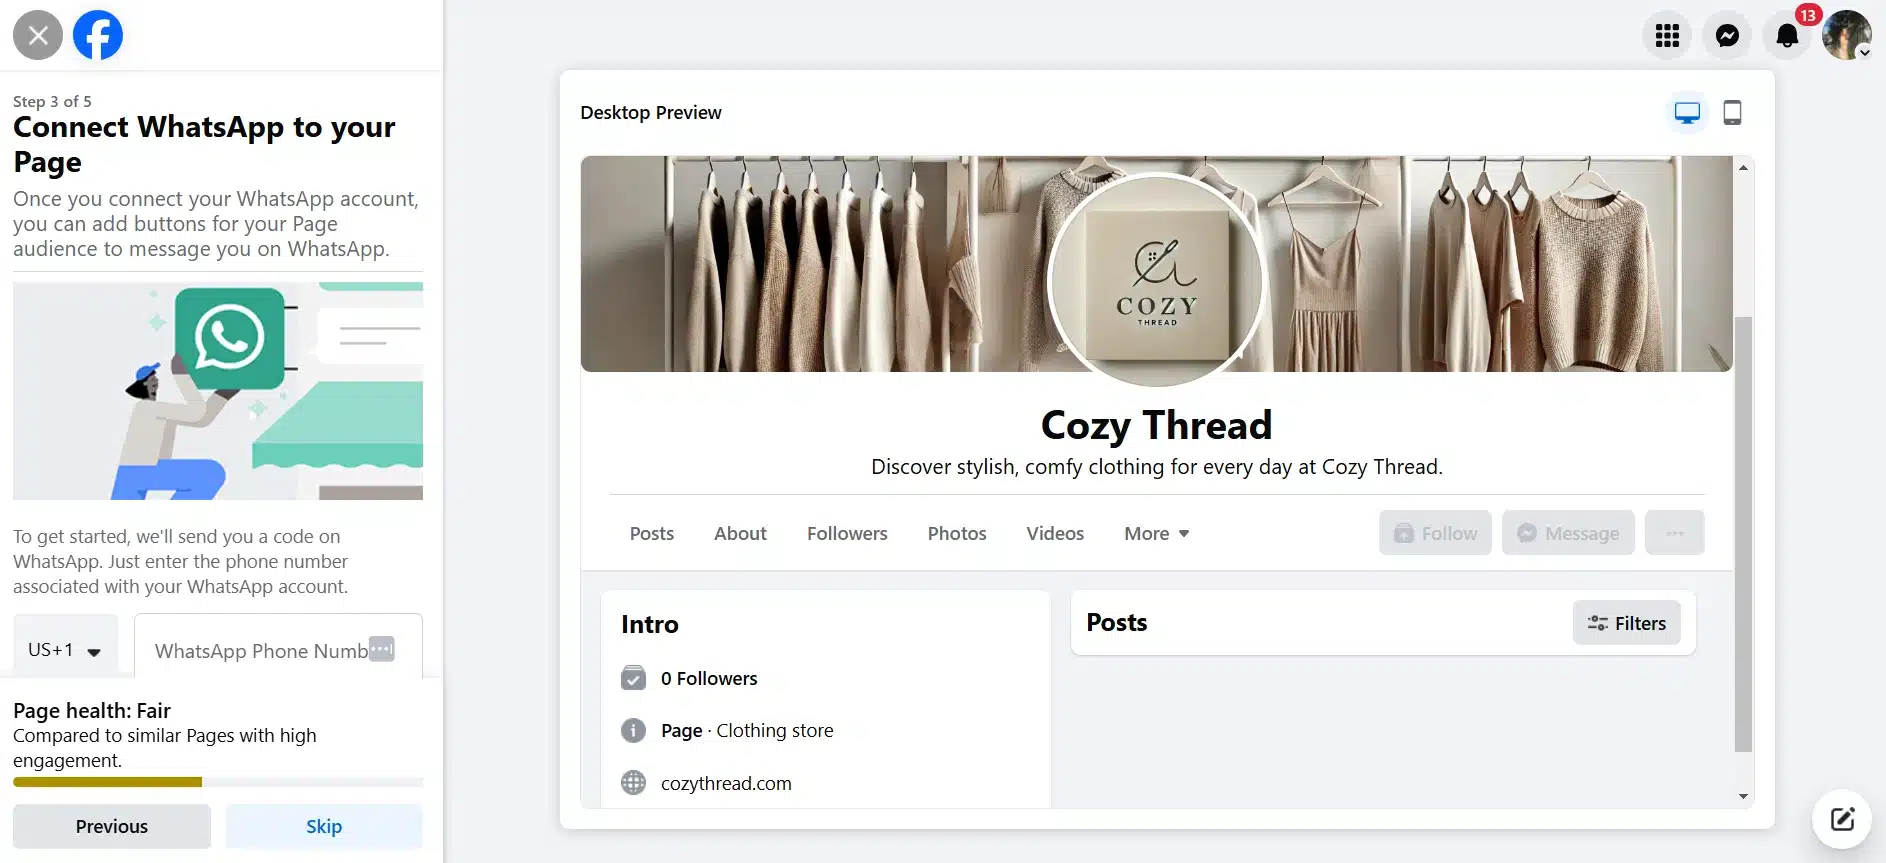
Sometimes, emailing businesses can feel too time-consuming. It also feels impersonal compared to simply sending a text. By making yourself reachable through WhatsApp you can increase the number of customers that actually take the step to contact you.
Step 7: Invite Facebook friends to like your Page
Getting your first followers can be hard. Take advantage of the fact that your Business page is linked to your personal Facebook profile and invite your friends to connect with it.
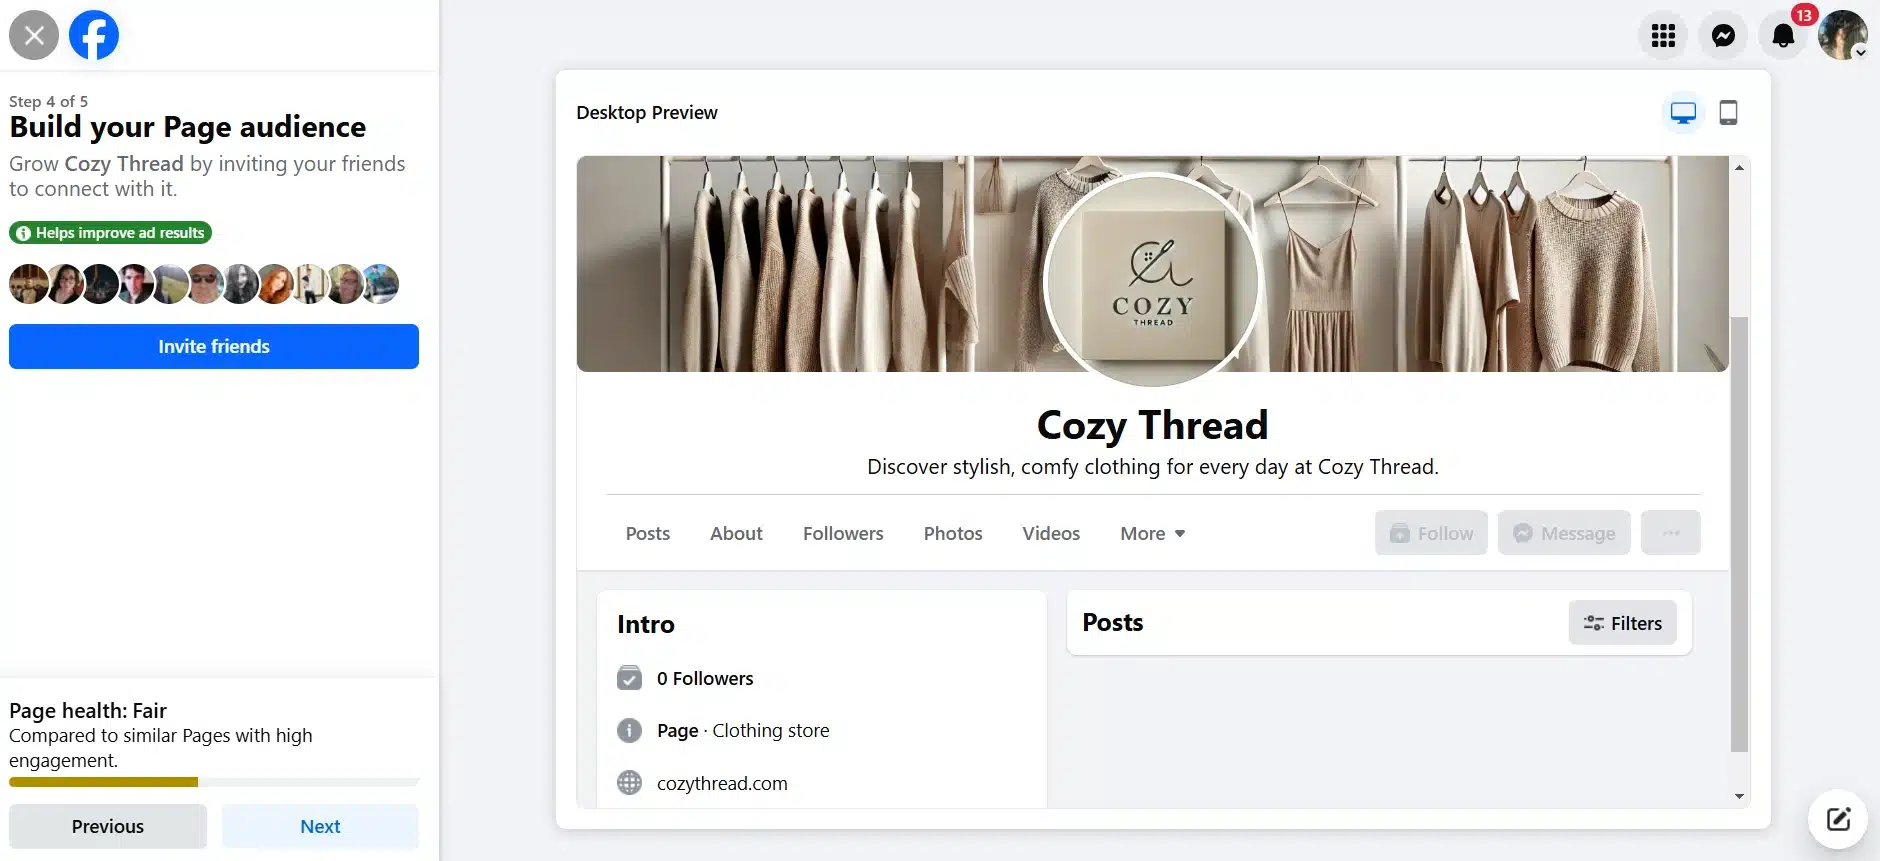
The Invite friends button sends a notification to all of your Facebook friends list that you have created a page, and they are encouraged to like or follow it. It’s a great first promotion.
Step 8: Enable the notifications you want
Last but not least, it is time to tell Facebook which notifications you would like to receive in order to improve your experience. We recommend keeping page notifications on at least, so you know what goes on even when you are logged in to your personal account.
You can also agree to receive emails from Meta about new products and services they launch that help your promotional efforts.
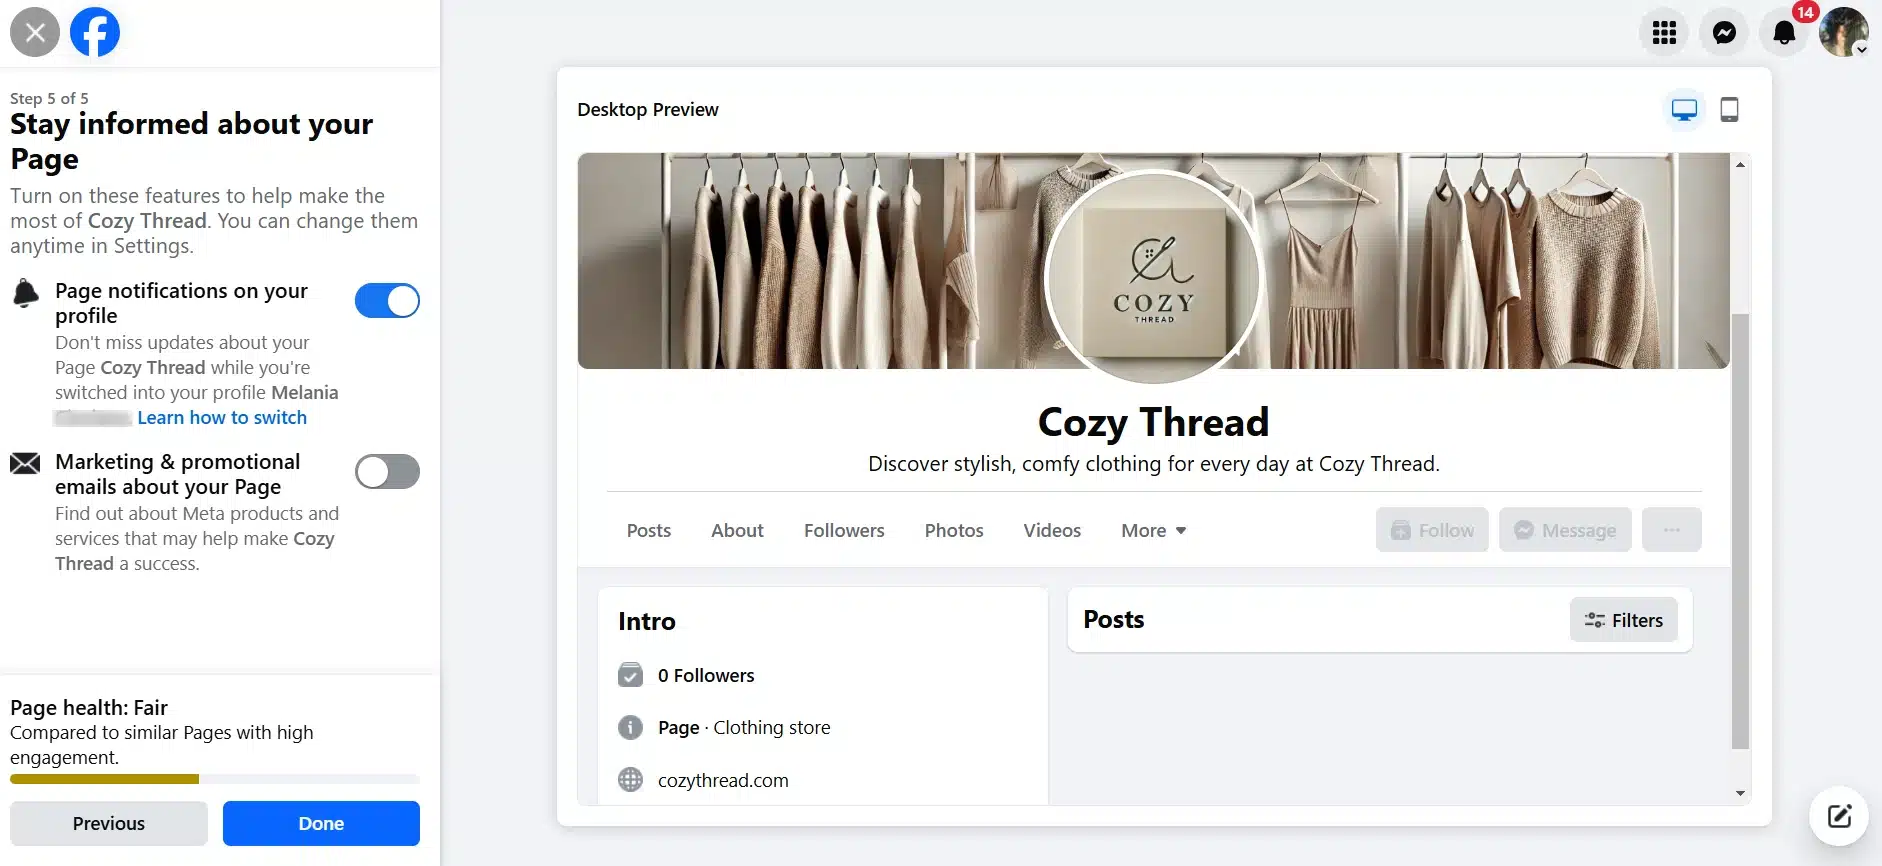
After you’ve completed this last step, hit Done, and voila! Your Facebook Business page is now live.
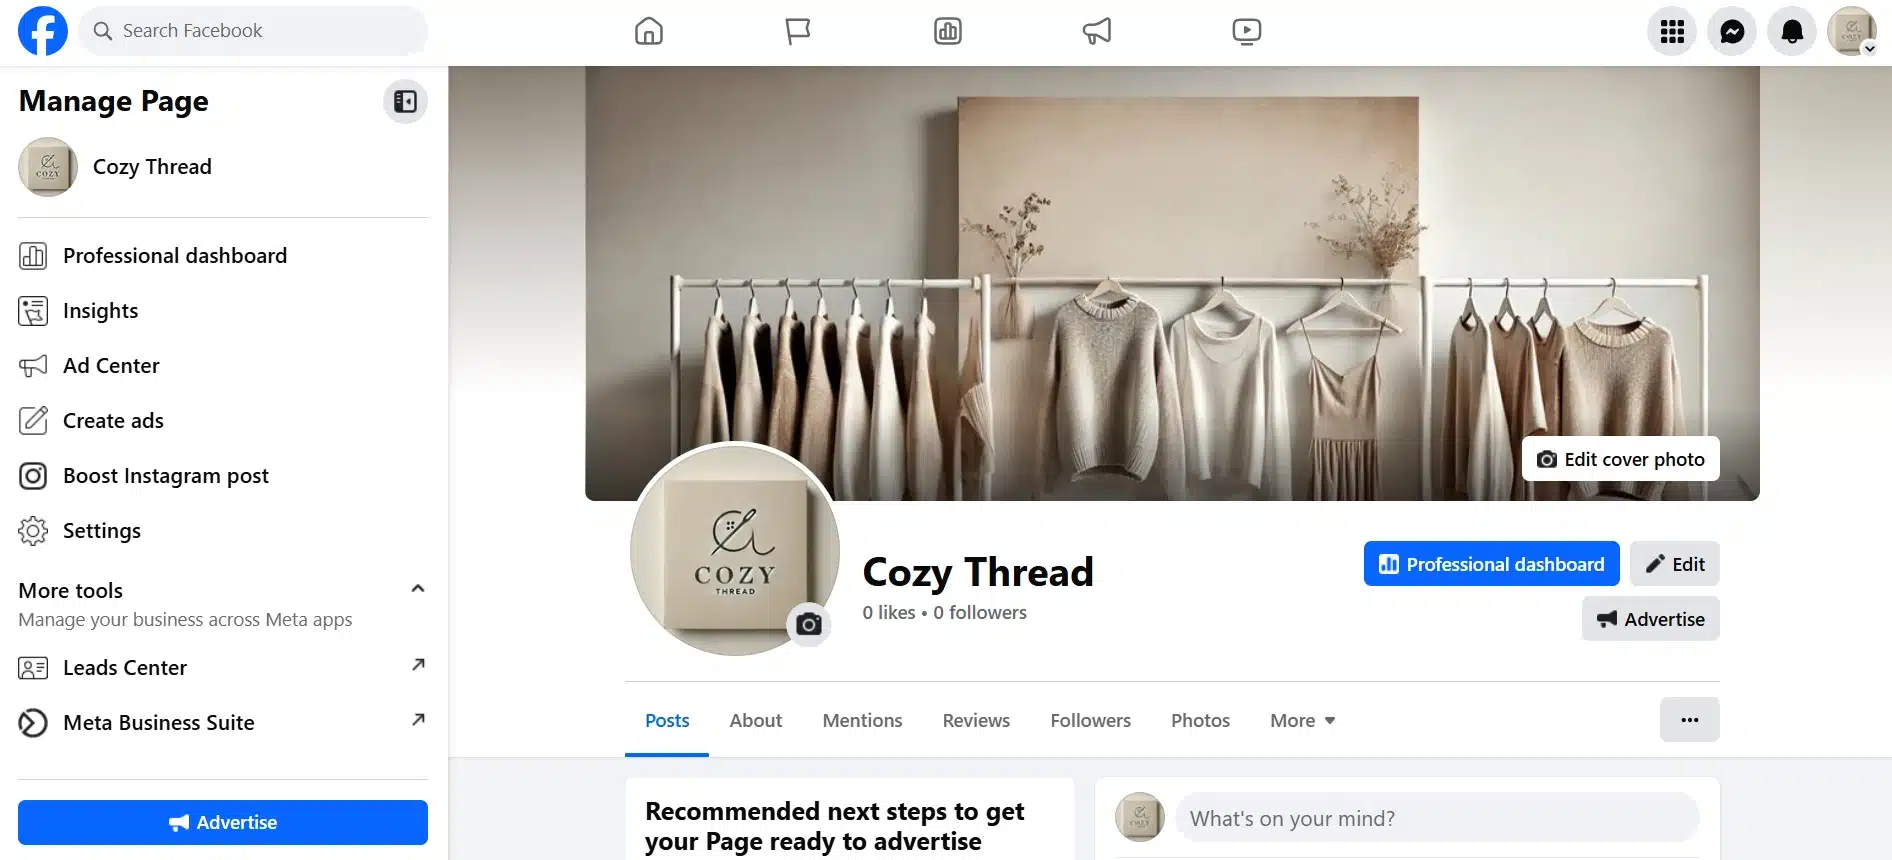
Facebook allows you to edit Page info anytime, so don’t worry if you’re not happy with the initial result. Now it’s time to start posting your content and promoting your brand.
5 growth tips for your new Facebook Business page
Creating your Facebook Business page is the easy part. What can prove more tricky is growing its followers and engagement.
Here are five tips for growing your Facebook Business page:
- Keep your business info up to date
- Plan your content strategy ahead of time
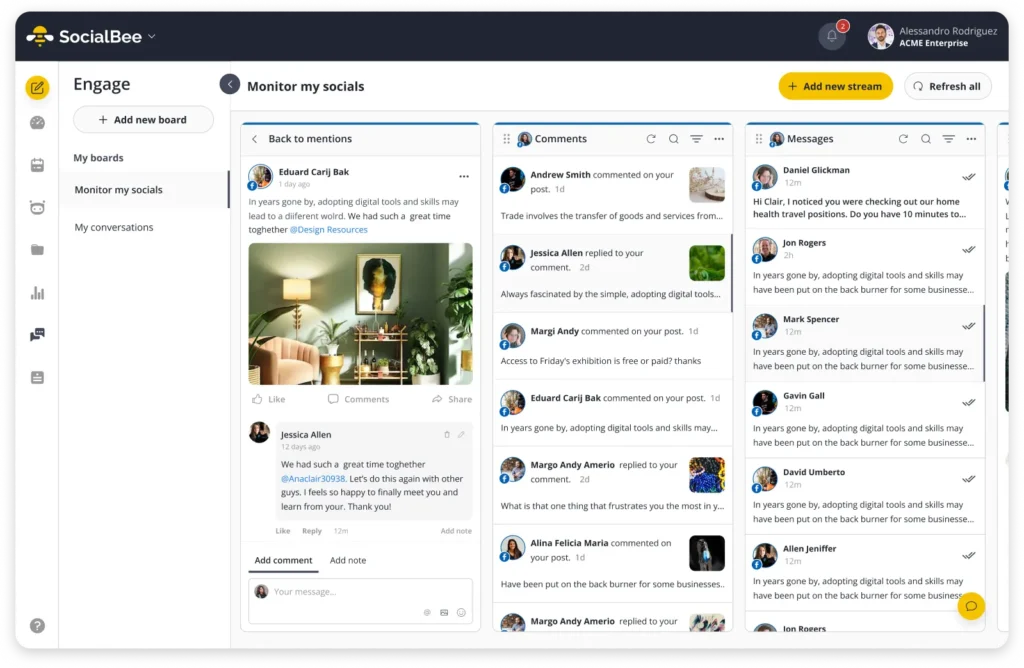
- Interact with your followers
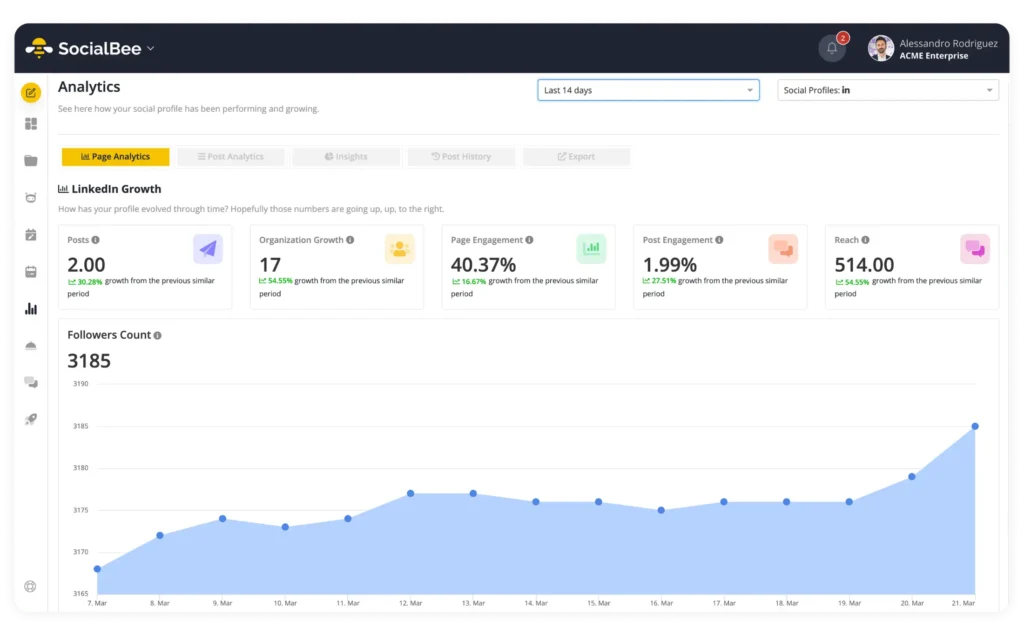
- Monitor your page analytics
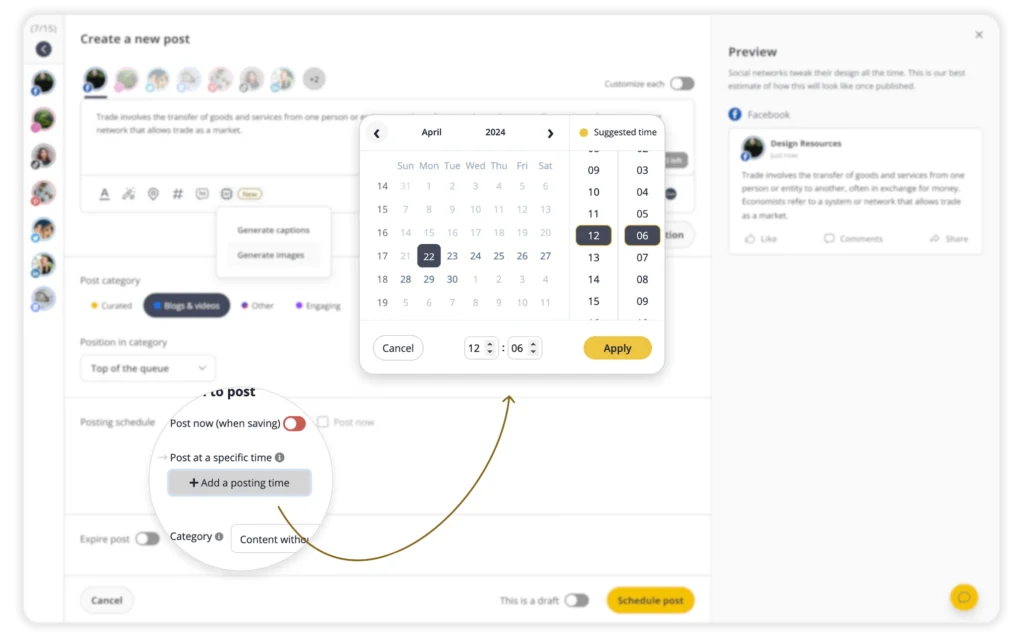
- Create a posting schedule based on data
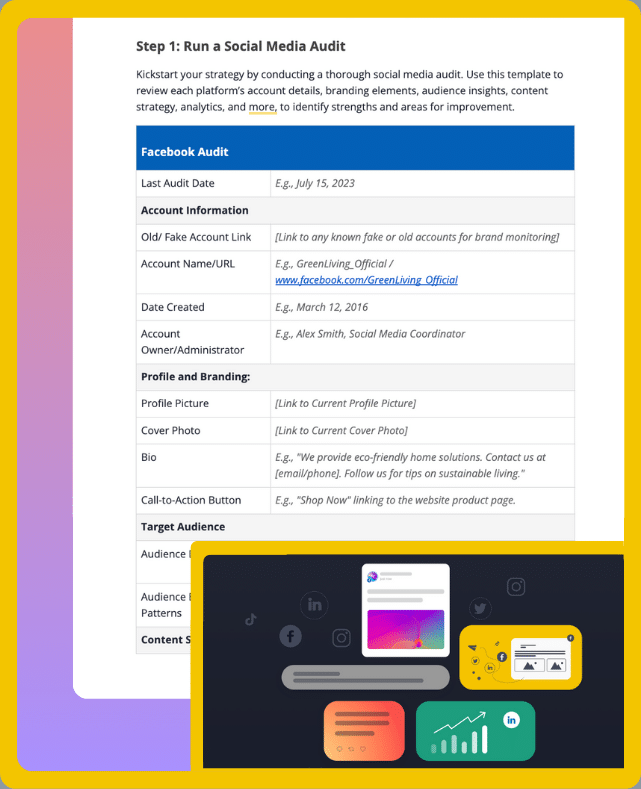
1. Keep your business info up to date
A lot of people use Facebook to check up on important information about a brand, so make sure to keep yours updated. For example, if you close early for the holidays, edit your business hours. The same goes for any changes in location or contact details.
If people see your Facebook page as a reliable source of information about your business, they’re more likely to visit it regularly and follow it to not miss any updates.
2. Plan your content strategy ahead of time
If you want your Facebook Stories and posts to stand out and gain traction, you’ll need to come up with a good content strategy. Plan in advance what and when you’ll be posting it.
By keeping your content diverse, you make sure your target audience stays both entertained and educated. If you’re running a page for a clothing store, for example, you can mix fun try-ons and insights from people from the fashion industry with promotional posts about your offers and deals.
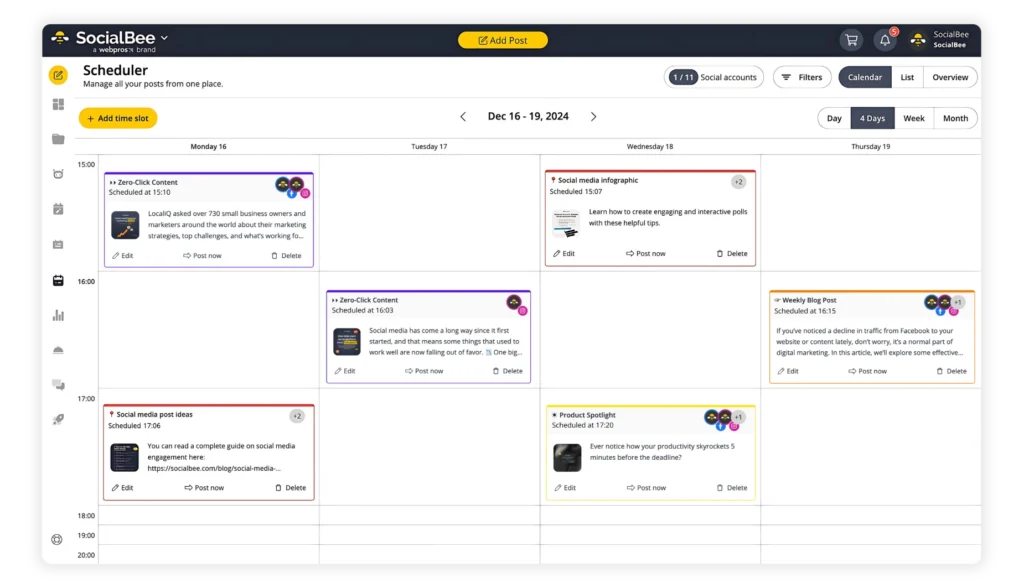
SocialBee makes it easy to stay on top of your content strategy with Content Categories. They help you organize your posts and bulk edit them. This way, you can mix it up, save time, and never run out of fresh content.
Create a content schedule with all of your categories and maintain a consistent presence on your Facebook Business page.