Ever caught yourself creating the perfect Facebook Reel, only to realize it’s way too late to post it? We’ve all been there. Between figuring out the right time to post and keeping up with content, it’s easy to fall behind. Luckily, Facebook now lets you schedule your Reels so you can plan everything in advance and stay consistent without the stress.
Here’s how you can do it in just a few steps.
Plan your posts in no time with hundreds of post ideas and Canva templates. We’re SocialBee LABS SRL, part of WebPros. We use the information you provide to share relevant content and product updates, as outlined in our Privacy Policy. You can opt out anytime.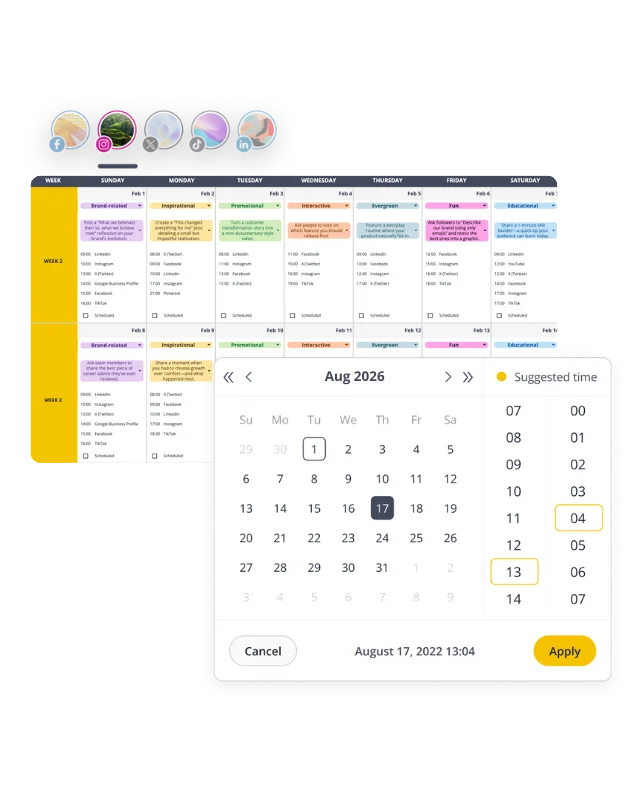
Short summary
- Yes, you can schedule Reels on Facebook. Use Meta Business Suite or social media management tools like SocialBee to easily create, upload, and schedule Facebook Reels in advance.
- Scheduling Reels helps you stay consistent. Keep your feed active, plan your upcoming posts, and reach your audience when they’re most engaged.
- Find the best posting times. Use insights and analytics to discover when your followers are online, then pick your date and time before you click Schedule. Or let SocialBee automatically suggest the best times based on your past content performance.
- Mix different content types. Alternate between Reels, Stories, carousels, and text posts to keep your content varied and relevant.
- Take advantage of scheduling tools. Platforms like SocialBee offer flexible scheduling options, help you save time, and let you manage all your posts from one account.
How to schedule Reels on Facebook: 3 easy ways
As Mike Stelzner puts it, video tells stories better. So you should not miss the chance to tell your story through Facebook Reels.
You can schedule Facebook Reels in a few different ways, depending on what’s easiest for you. Whether you’re on your phone or computer, Meta gives you built-in tools to plan ahead, and social media management platforms like SocialBee make it even simpler to stay consistent.
Here are three easy ways to schedule Reels on Facebook:
- Schedule Facebook Reels via Meta Business Suite on desktop
- Schedule Facebook Reels using the Meta Business Suite mobile app
- Schedule Facebook Reels in SocialBee
How to schedule Facebook Reels via Meta Business Suite desktop
- Go to Meta Business Suite on your desktop.
- Click “Content” or “Planner” from the sidebar.
- Select “Create reel”.
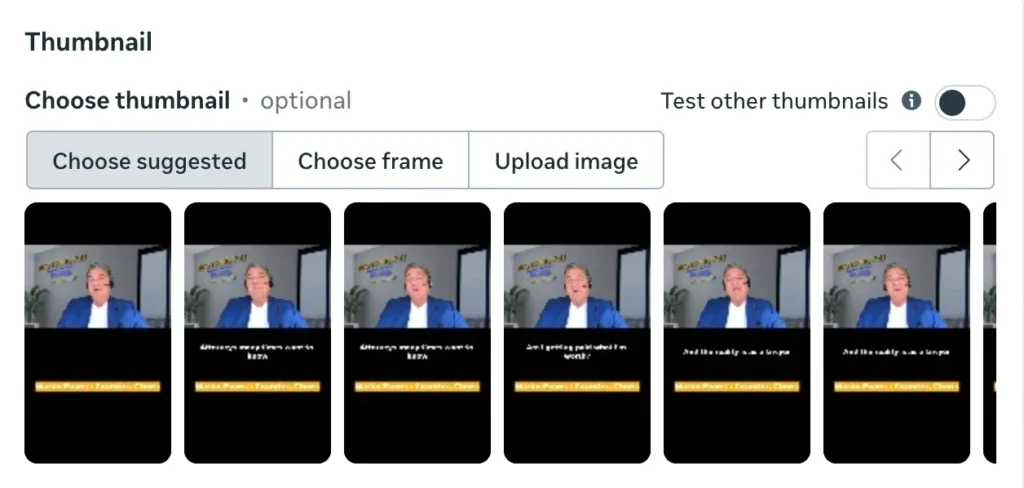
- Upload your video and add your caption, text, and thumbnail.
- Choose where you want to share it: on your Facebook Page, or both Facebook and Instagram if your accounts are connected.
- If this is your first time scheduling, you may need to sign in and reconnect your Instagram account.
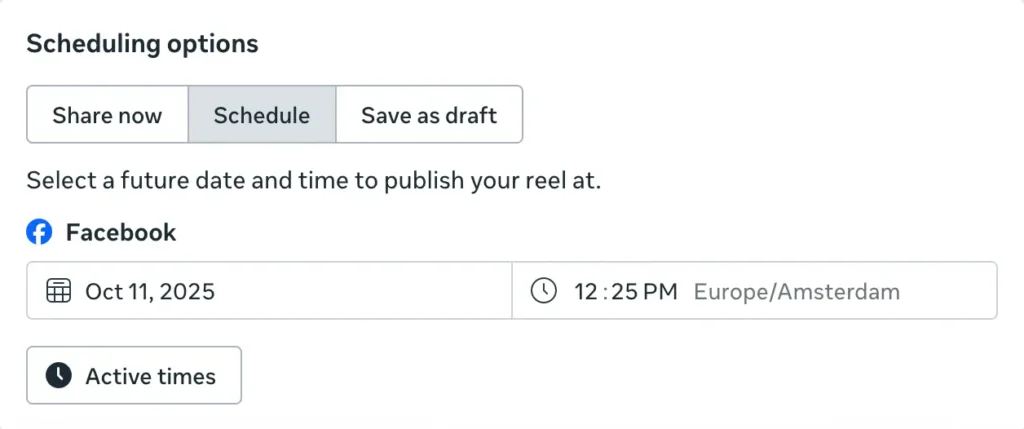
- Once your post is ready, click “Schedule”, then pick your date and time.
- Preview your post on the right to see how it’ll appear in the feed.
- When you’re done, click “Schedule” to confirm.
Your Reel will now appear under Scheduled posts in your Planner tab, where you can edit, delete, or enhance it before it’s automatically published.
How to schedule Facebook Reels via Meta Business Suite mobile app
- Open the Meta Business Suite app.
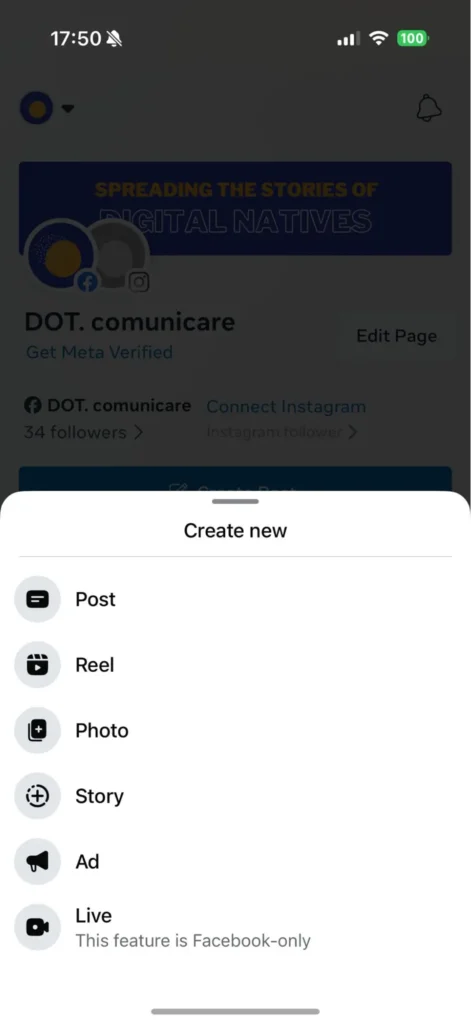
- Tap “+” from the bottom menu.
- Tap “Create” to start a new post.
- Select “Reel”.
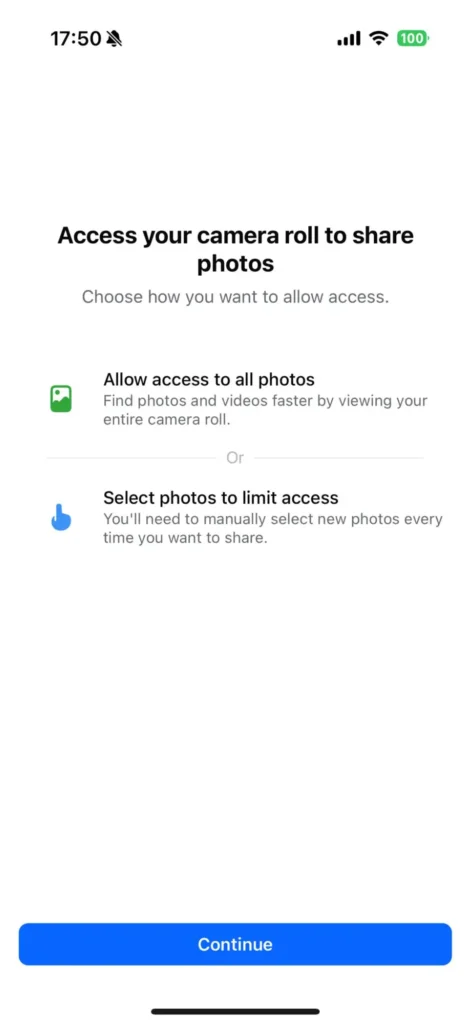
- If it’s your first time, allow the app to access your photos and videos, then tap “Continue”.
- Add your text, caption, and video.
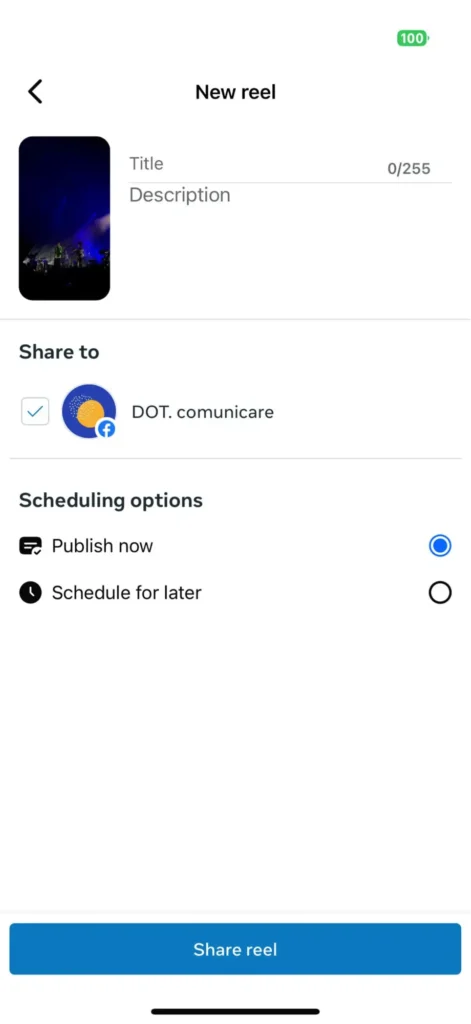
- Tap “Next”, then choose “Schedule for later”.
- Select the date and time you want your Reel to go live, and tap “Schedule” to confirm.
Once scheduled, you can see your Reel in the Scheduled tab, where you can edit, review, or delete it before it’s published.
How to schedule Facebook Reels with SocialBee
If you’ve used Meta Business Suite before, you know it can get a bit clunky: limited flexibility, fewer scheduling options, and no easy way to manage multiple platforms. That’s where using a social media management like SocialBee makes a difference. You can schedule Reels and other content types (Stories and Facebook posts) from one dashboard, plan ahead using content categories, and even handle approvals and analytics in the same place.
Plus, SocialBee lets you post to Facebook Pages, personal profiles, and groups, all while managing other platforms like Instagram, LinkedIn, X, TikTok, and YouTube from one tool.
Here’s how to schedule Facebook Reels with SocialBee:
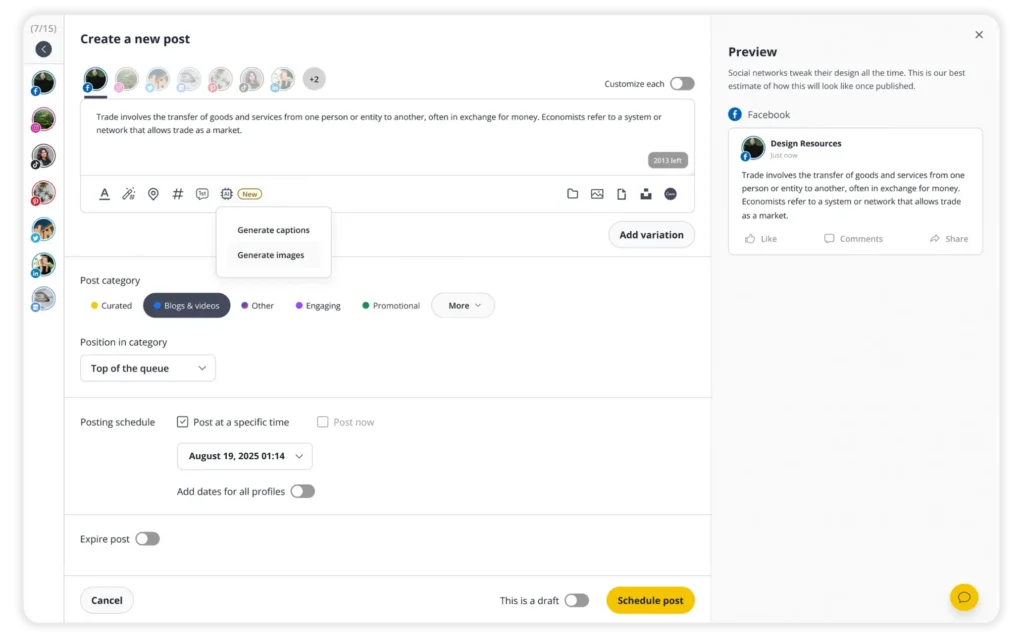
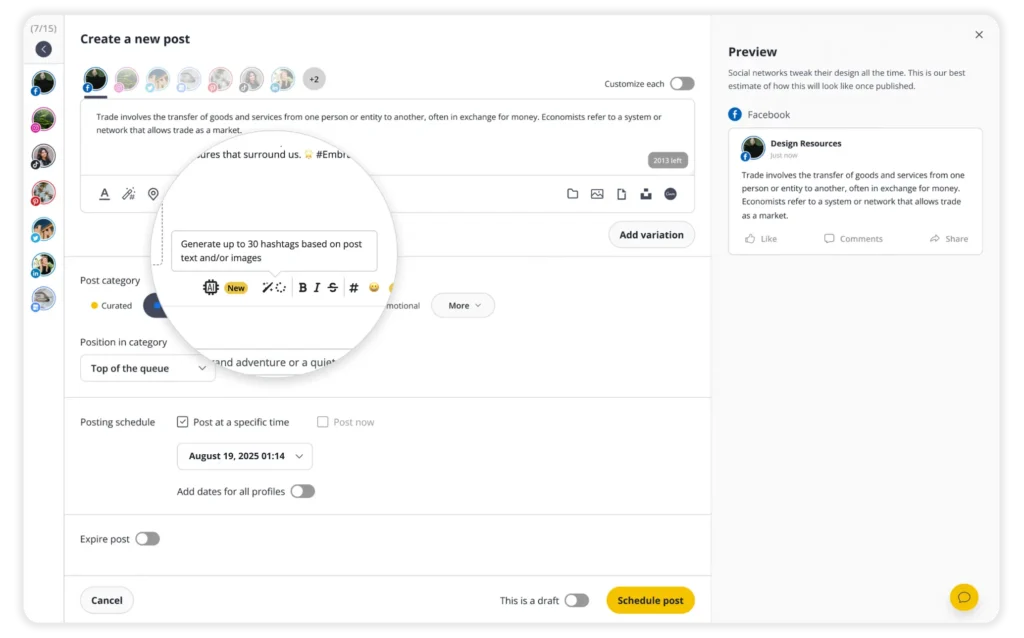
Step 1: In SocialBee, open the Post Editor and make sure your Facebook Page is selected.
Step 2: From the left sidebar, select the Facebook Page or Profile you want to post to.
Step 3: If you’re posting to multiple platforms, turn on “Customize each” to tailor your caption, visuals, or hashtags for each one.
Step 4: Choose the type of Facebook post you want to share: Reel, Story, or Feed post.
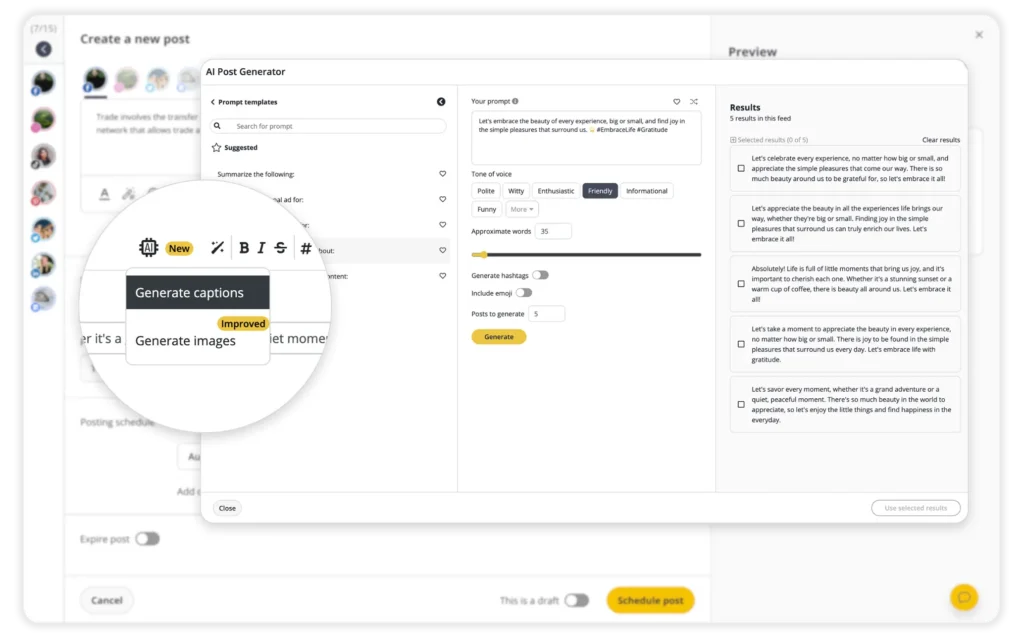
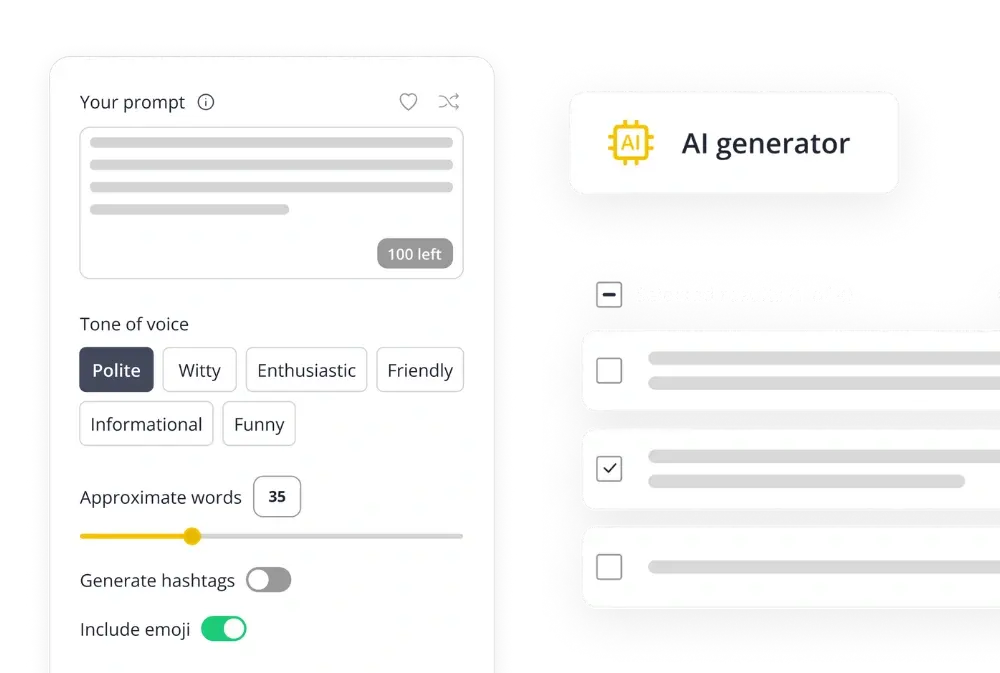
Step 5: Type your caption directly in the text box, or click the AI to generate ideas, captions, or image suggestions.
Step 6: Upload your video or image and add alt text for accessibility. You can also edit your media: crop, flip, or resize to fit the right format.
Step 7: Tag accounts by typing “@” followed by their handle, or use the Hashtag Generator (the wand + hashtag icon) to find trending and relevant hashtags. Save your favorite sets for future use.
Step 8: Format your caption with bold, italic, or strikethrough, and add emojis to make your post more engaging.
Step 9: Import your media from Canva without leaving SocialBee, making content creation feel a lot smoother.
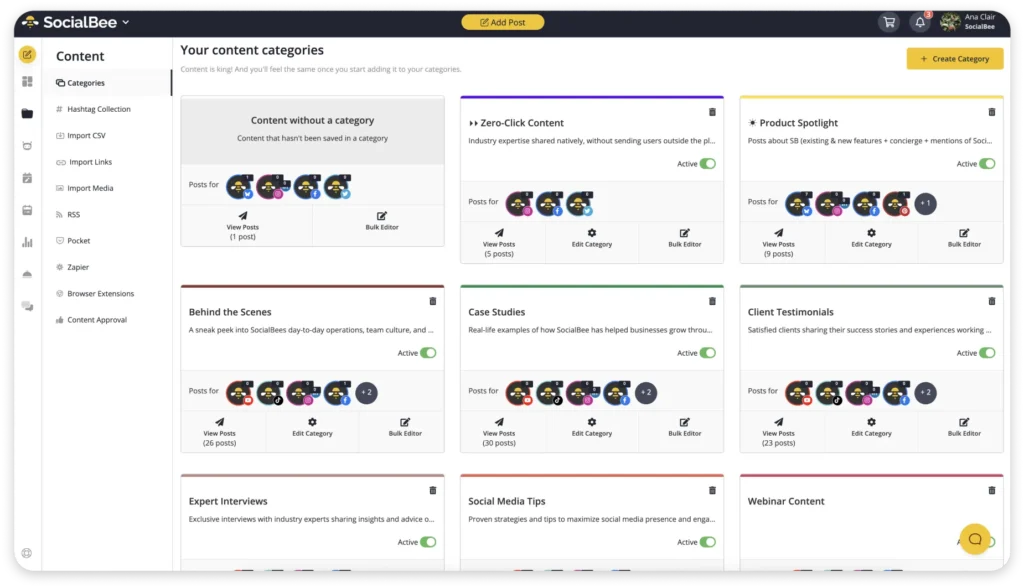
Step 10: Add your post to a Post Category (your content folder). This helps you stay organized and automate your posting schedule.
Step 11: Choose whether to “Post now” or “Schedule for later”. When scheduling, you’ll see best time suggestions based on your past engagement.
Step 12: Turn on “Re-queue after posting” to automatically repost evergreen content or enable “Expire post” to remove it after a certain date.
Step 13: Toggle “Approved” to publish right away, or keep it as a draft if you’re still editing or waiting for team approval.
Step 14: Click “Save Post” in the bottom-right corner to finalize your Facebook post or Reel.
Once it’s saved, your Reel will appear in your SocialBee calendar where you can preview, edit, or delete it before it’s automatically published.
Top tips for scheduling Facebook Reels
Want your Reels to reach more people without constantly being online? Scheduling helps you stay consistent, post at the right times, and keep your feed active even on busy days.
Here are five simple ways to get better results when you schedule Reels on Facebook:
- Schedule Reels when your audience is most active
- Record and edit multiple Reels at once
- Alternate between content types
- Mix short Reels with slightly longer ones
- Track analytics and adjust posting times
1. Schedule Reels when your audience is most active
If you want your Reels to get noticed, timing matters. Open your Meta Business Suite and check when your followers are most active during the day or week. Maybe it’s during lunch breaks, maybe it’s late at night, every audience has its rhythm.
Once you know the pattern, start planning your Reels around those times. You can schedule posts in advance so they go live automatically, even if you’re busy or offline. If your audience spans multiple time zones, take that into account too: a morning post for you might hit perfectly in the evening somewhere else.
Pro tip: If you use SocialBee as a Facebook management platform, you can view your best-performing slots and schedule Reels for both Facebook, TikTok, LinkedIn and Instagram in one calendar. It’s a simple way to stay consistent without having to log in and post manually every single time.
2. Record and edit multiple Reels at once
Batch-creating content can be a lifesaver. Pick a day when you’re feeling creative, film a few Reels back-to-back, and edit them while the ideas are still fresh. Think of it as your personal content day: a time to create, review, and get everything prepped for scheduling.
Once you’re done, upload them to your Creator Studio or scheduling tool, add your caption, choose a thumbnail, and click Schedule. You’ll thank yourself later when the week gets busy, and your feed still looks active and timely.
3. Alternate between content types
If you want your Reels to perform long-term, don’t rely on video alone. Facebook’s algorithm favors variety, and your audience does too. A smart content mix keeps your feed active and your reach steady, even when you’re not posting daily.
Here’s how to structure a Facebook calendar:
- Use Reels for visibility. They push your content into new feeds and help attract fresh eyes.
- Share stories several times a week to stay top-of-mind. Stories are quick, informal, and perfect for real-time updates.
- Post carousels when you have something to teach or show in steps, like a process, product features, or event highlights.
- Add single images and text posts to break things up and create variety in your feed.
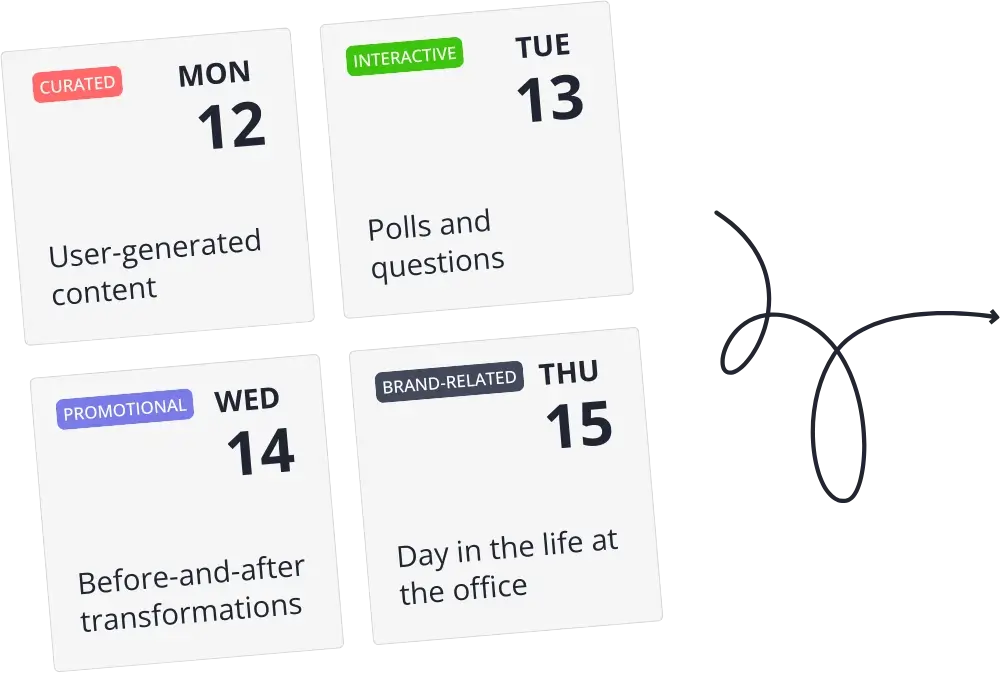
When you plan your upcoming posts, think in cycles instead of single uploads. For example, one Reel can tease something, the carousel can explain it, and a story can show it in action.
Pro tip: In SocialBee, use content categories like Engaging, Promotional, or Educational to plan your upcoming posts. It helps you see your mix at a glance, save time, and keep a steady pace that feels natural, a real game-changer once you get into it.
4. Mix short Reels with slightly longer ones
Not every Reel needs to go viral. Short, catchy clips help pull people in, but longer ones build connection. Use the extra seconds to tell a story, show your creative process, or talk about something you genuinely care about. According to Statista, 33% of Facebook users come to the platform for entertainment, so give them something to engage with.
When you schedule posts, choose a posting rhythm that feels natural. Maybe you share quick Reels during the week and reserve the longer ones for weekends when people have time to actually watch. Play around with your timing until you find what works for your audience.
5. Track analytics and adjust posting times
After your Reels are published, don’t skip the follow-up. Check your Meta Business Suite to see which videos get the most views, comments, and shares. You’ll start to notice trends: maybe your audience is more active in the evenings, or perhaps your Monday posts perform better than Friday ones. Use those insights to fine-tune when you schedule posts so your content lands at just the right moment.
Keep testing and adjusting until you find a rhythm that works. Posting consistently is good, but posting at the right time is what really moves the needle.
Pro tip: With SocialBee’s analytics dashboard, you can track performance across all your platforms in one place. Measure engagement, impressions, comments, and reach for every post, and use those insights to find the best posting times for your content.
You can also generate PDF reports to share results with your team or clients: a small habit that makes a big difference in how your feed performs over time.
Frequently asked questions
Can you schedule Reels on Facebook?
Yes, you can schedule Reels on Facebook through Meta Business Suite or social media management tools like SocialBee: just upload your video, add a caption and thumbnail, pick the date and time, and click “Schedule” to post it automatically when your audience is most active.
Can I share my Facebook Reels to Instagram Reels?
Yes, you can share your Facebook Reels to Instagram Reels if your accounts are connected through Meta Business Suite or managed in a scheduling tool like SocialBee.
With SocialBee, you can easily post your Reels to both platforms at once: just select both your Facebook and Instagram accounts before publishing or scheduling your Reel.
How long can a Facebook Reel be?
A Facebook Reel can be up to 90 seconds long, though shorter clips (around 15 to 30 seconds) often perform better for engagement and reach.
Time to start scheduling your Facebook Reels
Scheduling your Facebook Reels is the easiest way to stay consistent and reach more people without having to post manually. It helps you plan your upcoming posts, keep your feed active, and share content when your audience is most likely to engage.
Whether you use Meta Business Suite or a scheduling tool like SocialBee, planning your Reels in advance saves time and keeps your audience engaged and content strategy on track.
Ready to give it a try? Start your 14-day free SocialBee trial and schedule your first Facebook Reel today.
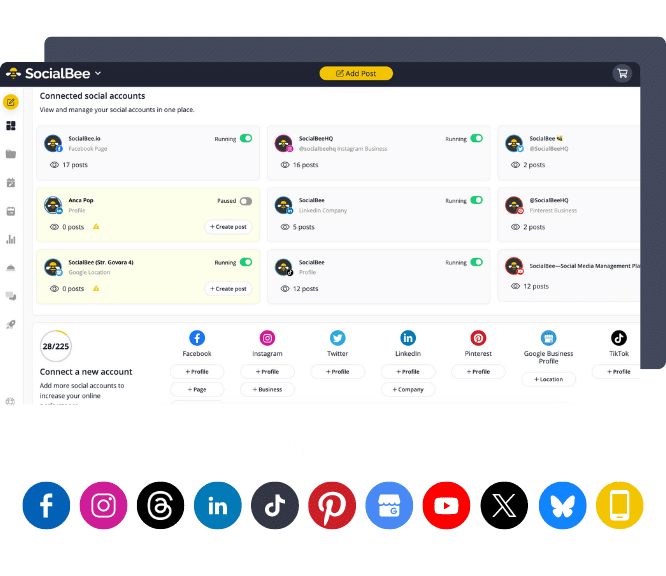
Create posts, publish, analyze, engage and collaborate, all from SocialBee.
