Ever wondered how to stream on your YouTube channel but weren’t sure where to start? Whether you’re looking to connect with your audience in real time, showcase your skills, or grow your brand, live-streaming is one of the best ways to engage viewers.
But before you hit Go Live, there are a few things you need to set up, like choosing the right streaming method, optimizing your settings, and making sure your stream runs smoothly.
This guide will walk you through everything you need to know, from mobile and webcam streaming to using external software for a more professional setup.
![]()

What is a YouTube live stream?
A YouTube live stream is a real-time video broadcast on YouTube that allows creators to interact with their audience as things happen.
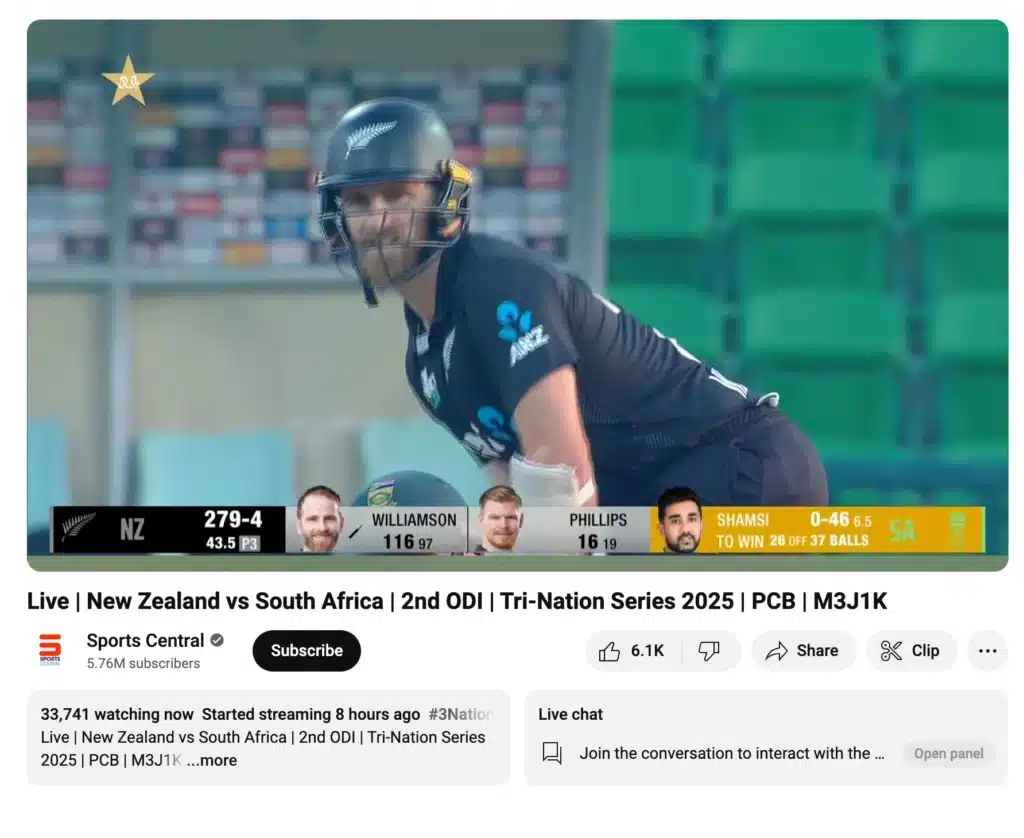
It works similarly to traditional live TV broadcasts but is accessible to anyone with a YouTube account and an internet connection.
How to stream on YouTube: step-by-step guide
Streaming on YouTube allows you to connect with your audience in real time, whether you’re on mobile, using a PC, or setting up an advanced live stream with streaming software. Below is a complete guide on how to go live on YouTube, no matter which method you choose.
How to start a YouTube mobile live stream:
- Open the YouTube App on your phone or tablet.
- Tap the “Create” icon (camera symbol) at the bottom of the screen.
- Select “Go Live.”
- Enter a Title and Privacy Settings (Public, Unlisted, or Private).
- Tap “More Options” to add a description.
- Tap “Show More” to adjust live chat, age restrictions, monetization, and promotions if applicable.
- Select “Next” to choose or upload a custom thumbnail for your stream.
- Share your stream link by tapping “Share” and posting it on social media.
- Tap “Go Live” to start broadcasting.
NOTE: A mobile live stream is great for on-the-go vlogging, quick updates, and casual live interactions.
Requirements for mobile YouTube streaming:
- You need at least 50 subscribers to go live from the YouTube app.
- If you’re between 13 and 17 years old, you need at least 1,000 subscribers.
- Your YouTube channel must be verified and must not have any restrictions that prevent live streaming, such as community guideline strikes.
How to stream on YouTube on a PC:
- Sign in to YouTube on a web browser.
- Click the “Create” icon (camera symbol) in the top-right corner.
- Select “Go Live” from the drop-down menu.
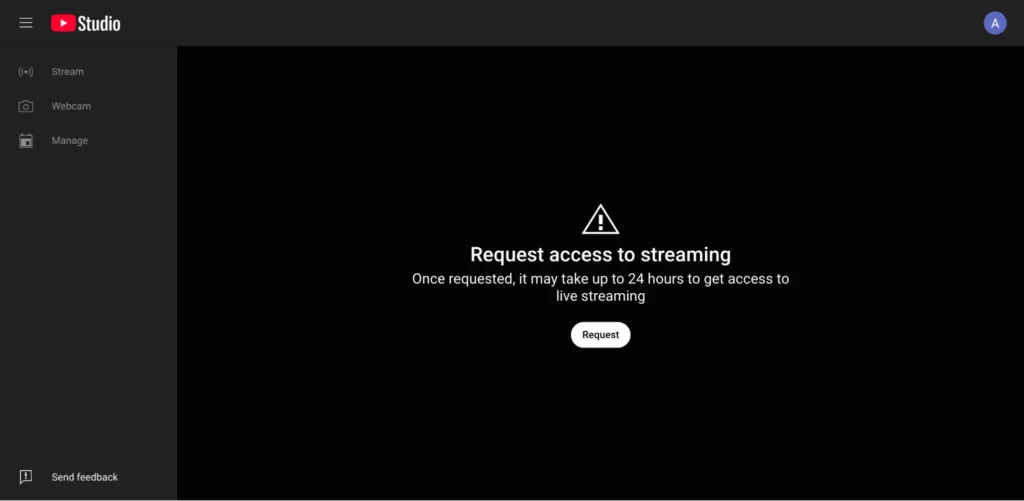
- Request access to go live (it can take up to 24 hours to receive it).

- Click on the “Webcam” tab to launch your stream directly from your browser.
- Enter your title, description, and privacy settings (Public, Unlisted, or Private).
- Designate whether your live stream is for kids or not (for compliance with YouTube’s COPPA policies).
- Click “Next” and let YouTube automatically capture a thumbnail from your webcam, or upload a custom thumbnail.
- Once everything is set up, click “Go Live” to start streaming.
- When finished, tap “End Stream,” and the video will be saved to your uploaded videos section.
NOTE: Streaming from a desktop computer or laptop using YouTube’s built-in webcam streaming feature is the easiest way to go live without additional software.
Requirements for YouTube webcam streaming on a PC:
- A verified YouTube channel with no streaming restrictions.
- A computer’s webcam (built-in or external).
- A stable internet connection (preferably wired Ethernet).
How to live stream on YouTube using streaming software
If you want more control over your stream, like using multiple cameras, screen sharing, overlays, or gaming content, you’ll need streaming software such as OBS Studio, Streamlabs, or other encoders.
NOTE: You can also stream directly from modern game consoles like PlayStation, Xbox, or Nintendo Switch, which offer built-in streaming features that connect to YouTube. Just make sure to link your YouTube account and check your console’s streaming settings before going live.
Here’s how to stream on YouTube using OBS Studio or other software:
- Enable live streaming in YouTube Studio (this may take up to 24 hours if it’s your first time).
- Sign in to YouTube on a web browser.
- Click the “Create” icon and select “Go Live.”
- You’ll be taken to the Live Control Room. Click the “Stream” tab to go live immediately.
- If you want to schedule a stream for later, go to the “Manage” tab, then select “Schedule Stream” and set the date/time.
- If it’s your first live stream, configure your stream settings, then click “Create Stream.”
- Open OBS Studio or your preferred streaming software.
- In your encoder’s settings:
- Select YouTube as the streaming destination (if available).
- If YouTube isn’t listed, copy your stream key from the Live Control Room and paste it into your streaming software’s settings.
- Connect your video capture device (webcam or camera), audio sources, and any other elements needed for your stream.
- Click “Start Streaming” in OBS Studio (or your chosen encoder), and your stream will go live on YouTube.
Tips for streaming on YouTube for the first time:
- Make sure you have the appropriate gear
- Set up your channel properly
- Optimize your stream settings
- Check your internet connection
- Prepare graphics and overlays
- Monitor stream health
- Encourage viewers to subscribe & like
- Stay calm and adapt
- Analyze your performance
- Promote your VOD
1. Make sure you have the appropriate gear
To stream live with high-quality video and audio, you need the right setup. If you’re just starting, a computer’s webcam can work for webcam streaming, but for professional broadcasts, invest in an external microphone for clearer audio and a video capture device or capture card for smooth visuals.
For mobile streaming, using the YouTube mobile app on a high-quality mobile device is important. Make sure your phone has a good camera, and use an external microphone for better sound. A stable stand or tripod can also help keep the footage steady.
If you’re using multiple cameras, set them up in streaming software like OBS Studio to switch between different angles. Test everything before your first live stream to ensure everything runs smoothly when you go live.
2. Set up your channel properly
Before you go live on YouTube, your YouTube channel needs to be properly configured for live streaming.
First, ensure you have a verified YouTube channel, as unverified accounts cannot enable live streaming. Here’s a step-by-step guide on how to get verified.
Then, head to YouTube Studio to activate the live stream feature, which may take up to 24 hours to be approved.
If you’re using streaming software, you’ll need a YouTube stream key to connect it to YouTube. This key allows software like OBS Studio to sync with your YouTube streaming setup.
Also, if you’re running a brand channel, make sure all permissions are set correctly in the account settings so team members can manage your streams. In the advanced settings, you can control chat messages, live redirect, and other features to improve audience experience.
3. Optimize your stream settings
Good streaming quality matters just as much as your content. To ensure your stream looks great, it’s important to adjust your iPhone camera settings for optimal video quality. The right settings help keep your stream smooth and professional. A high-quality video stream depends on several factors, including bitrate, resolution, and frame rate.
For the best YouTube stream quality, configure:
- Resolution: 1080p (Full HD) is ideal for clear visuals.
- Frame rate: 60 FPS for smooth motion, especially for gaming or action-heavy content.
- Bitrate: YouTube recommends 4,500–9,000 kbps for 1080p at 60 FPS.
- Encoding software: Use OBS Studio or another streaming service to fine-tune settings.
If you’re streaming from a mobile device, check the YouTube app settings to optimize performance. Upload a custom thumbnail before you go live to attract viewers.
4. Check your internet connection
A slow or unstable internet connection can ruin your live stream instantly, causing buffering and lag.
Run a speed test (you could use a tool such as Speedtest by Ookla) before you start streaming to ensure you meet YouTube’s recommended upload speeds for your selected resolution. For desktop computers, use a wired Ethernet connection instead of Wi-Fi for better stability.
If you’re using mobile live streaming, make sure you have a strong and stable Wi-Fi or 5G connection. Close any background apps that might be consuming bandwidth, and consider lowering the bitrate if you experience lag. In the live control room, YouTube provides real-time feedback on your stream health, so keep an eye on it during the broadcast.
5. Prepare graphics and overlays
A well-branded stream makes your content look professional and keeps viewers engaged. Custom overlays, transitions, and on-screen graphics can make a big difference.
Here are some key visuals to prepare for your YouTube live stream:
- Overlays & alerts – On-screen elements that show real-time updates, like new subscribers, donation alerts, or social media handles. These help keep viewers engaged.
- Lower thirds & titles – Text banners that display important info like your name, stream topic, or event details.
- Custom thumbnail – A preview image that grabs attention and reflects your stream’s theme. This is what people see first when browsing videos.
- Branded elements – Personal logos, watermarks, or graphics that make your live videos recognizable. Your logo can be placed in a corner of the screen as a small watermark or included in overlays and transitions.
For example, LofiGirl is cross-promoting her social media channels through overlays:
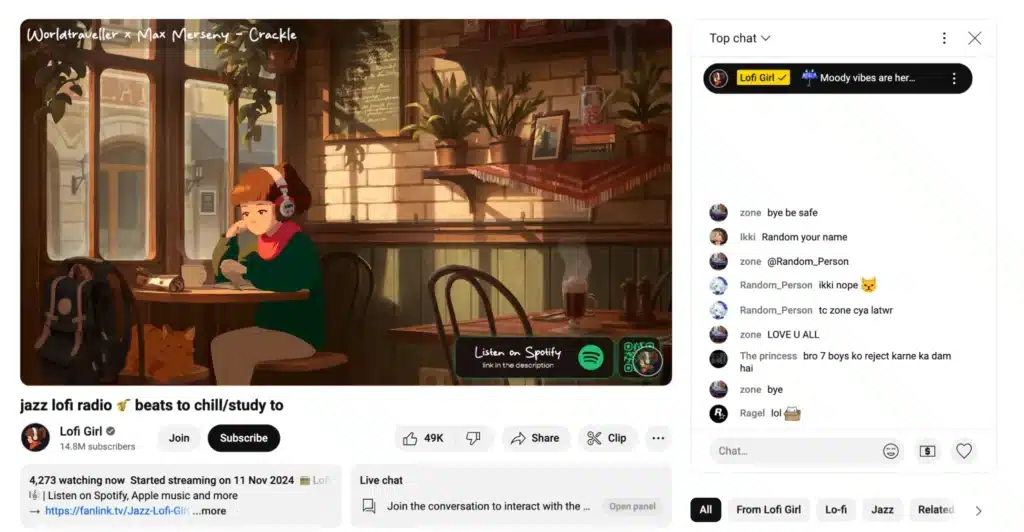
If using OBS Studio or YouTube Studio, you can easily integrate these elements into your layout before you start broadcasting.
In OBS Studio, set up a scene with your video capture device, then add overlays like logos, alerts, and text using the Sources panel. Integrate Super Chat and donation alerts with Streamlabs or StreamElements, and test everything with the Preview or Start Recording function.
In YouTube Studio, upload a custom thumbnail, enable chat messages and Super Chat, and adjust settings in the Live Control Room for a polished live stream.
6. Monitor stream health
Use YouTube’s live control room to check your stream quality in real time. This tool helps you monitor stream health, troubleshoot audio or video lag, and ensure that your live stream on YouTube is running smoothly. If issues arise, adjust bitrate settings or restart your capture video device.
Keep an eye on your chat messages and feedback from other viewers. If people report buffering or poor quality, you may need to adjust settings mid-stream.
7. Encourage viewers to subscribe & like
YouTube live streaming is a great opportunity to grow your audience. Remind viewers to subscribe and turn on notifications so they don’t miss your next live event. Engaging with chat messages makes people more likely to stick around and participate.
If you’re monetized, encourage Super Chat and Super Stickers for extra support. You can also use channel and gifted memberships to offer exclusive perks (such as exclusive content and badges) and encourage long-term engagement.
8. Stay calm and adapt
No first live stream goes perfectly, and that’s okay. If technical issues pop up, stay calm and troubleshoot without panicking. Have a backup plan (like a webcam streaming setup in case your capture card fails).
Engage with your viewers even if there are hiccups. If something goes wrong, laugh it off, keep talking, and focus on delivering a good experience. The more relaxed and natural you are, the more other viewers will enjoy the stream.
9. Analyze your performance
After you stream live, check your analytics in YouTube Studio to see how your stream performed:
- View count: How many people tuned in?
- Watch time: How long did viewers stay?
- Engagement metrics: Did people like, comment, or donate?
Compare this with your previously watched streams to refine your strategy for the next live event.
10. Promote your VOD
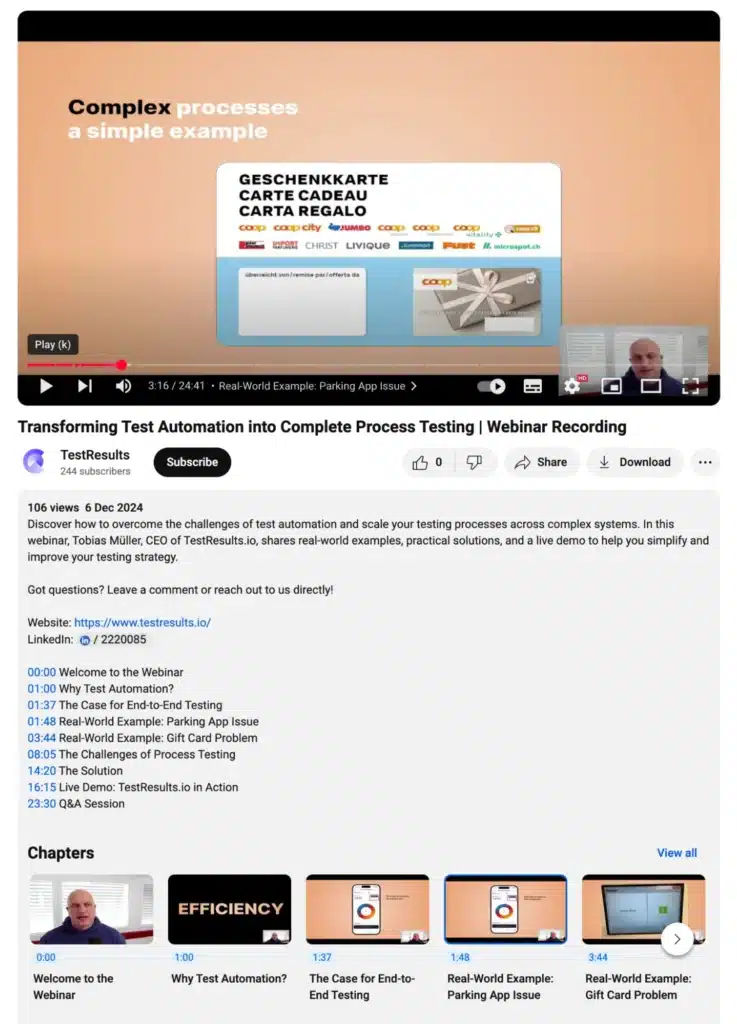
Once your stream ends, it becomes an uploaded video on your YouTube channel. Promote it like any other new video. A few options include sharing it on social media platforms simultaneously, adding it to playlists, and encouraging other viewers to watch the replay.
Here’s an example of how TestResults has uploaded their webinar recording:
Use YouTube’s highlight reels feature to create shorter clips from your stream and repurpose them as YouTube Shorts or Instagram Reels. If you covered important topics, add timestamps in the description to improve audience retention and make it easier for people to find key moments.